
Wiring A Room: How to Wire a Room with Lights And Outlets?
Wiring a room with lights and outlets might seem daunting, but with careful planning and a methodical approach, it’s a manageable project for homeowners with some DIY experience. This guide provides a comprehensive walkthrough, from understanding basic electrical principles to completing the installation safely and correctly. You’ll learn about planning your layout, choosing the right…
Wiring a room with lights and outlets might seem daunting, but with careful planning and a methodical approach, it’s a manageable project for homeowners with some DIY experience. This guide provides a comprehensive walkthrough, from understanding basic electrical principles to completing the installation safely and correctly. You’ll learn about planning your layout, choosing the right materials, understanding wiring techniques, and adhering to safety regulations. We’ll cover everything you need to know to confidently tackle this project, improving your home’s functionality and value. This guide aims to demystify the process of How to wire a room with lights and outlets?
Before starting any electrical work, understanding fundamental concepts is crucial. Voltage (measured in volts) is the electrical pressure pushing electrons through a circuit. Amperage (measured in amps) is the rate of
electron flow. Wattage (measured in watts) is the rate of energy consumption. The relationship between these is expressed as Watts = Volts x Amps. A typical household circuit in North America operates at 120 volts.
How to Wire a Room with Lights And Outlets?
To wire a room with lights and outlets, run electrical cable from the breaker panel to outlet and switch boxes, connecting black (hot), white (neutral), and ground wires appropriately. Use separate circuits for outlets and lights. Install switches for lighting control, then test connections before securing and powering up.
Circuits and Breakers
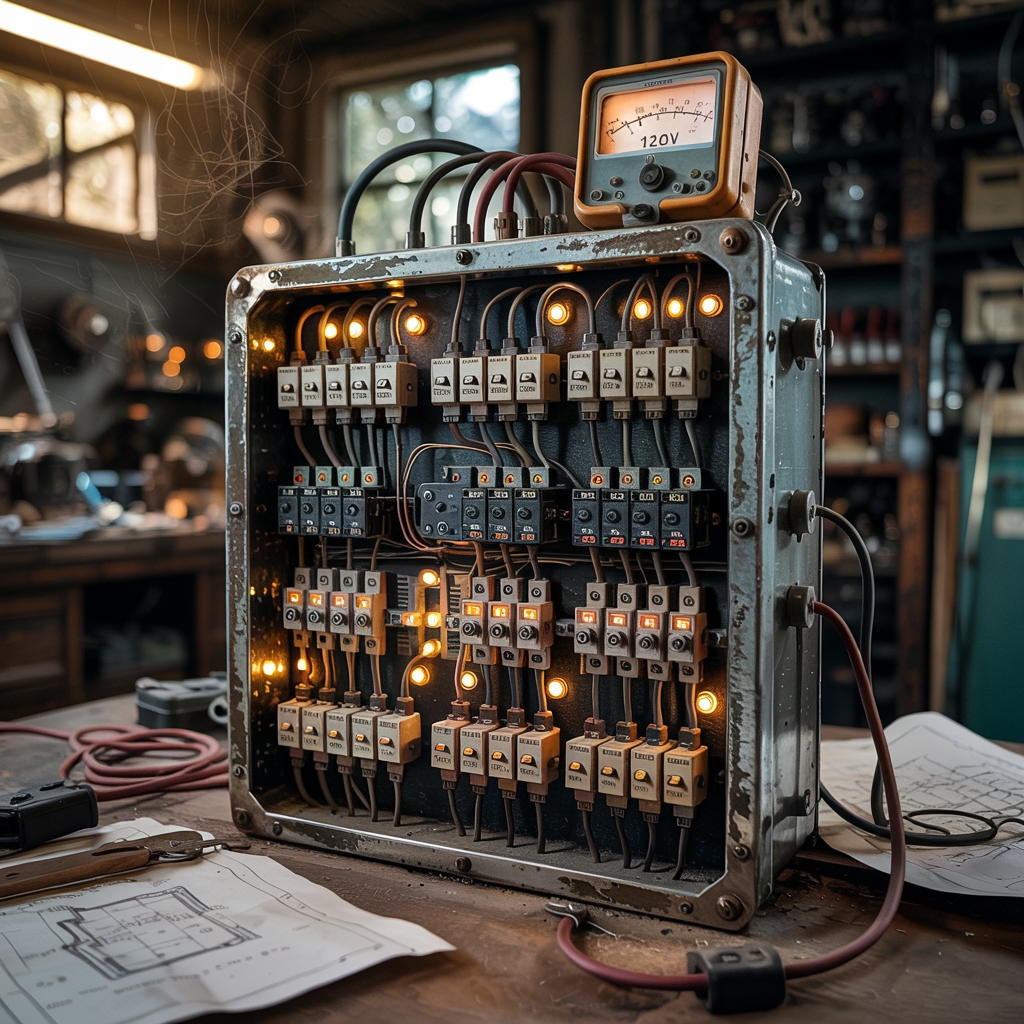
Electricity flows through circuits, which are pathways for electrons. Circuit breakers are safety devices that interrupt the flow of electricity if there’s an overload or short circuit, preventing fires or electrocution. Each circuit has a specific amperage rating, and overloading it can trip the breaker.
Wiring Types and Gauges
Different types of wiring are used for various applications. Common types include NM-B (Romex), which is a non-metallic sheathed cable used for most residential wiring. The gauge of the wire refers to its thickness; smaller gauges (e.g., 12-gauge) carry more current than larger gauges (e.g., 14-gauge).
Read More: How Many Can Lights in a 20×20 Room: The Ultimate Guide To Can Lights
Planning Your Room’s Electrical Layout
Determining the Number of Outlets and Lights
Carefully consider your room’s needs. Plan the placement of outlets to ensure convenient access for appliances and electronics. Follow building codes for the minimum number of outlets required per room. Similarly, plan the location of light fixtures considering their function and aesthetics.
Choosing the Right Outlets and Switches
Select outlets and switches that meet your needs and match the room’s style. Consider GFCI (Ground Fault Circuit Interrupter) outlets for areas prone to moisture, like bathrooms and kitchens. Different switches are available, including dimmers for controlling light intensity and smart switches for automated control.
Mapping Your Wiring Paths
Draw a detailed diagram showing the location of outlets, lights, and switches. Plan the pathways for your wiring, ensuring they are concealed within walls and follow building codes. This map will serve as a blueprint for your project, making the installation process smoother and less error-prone.
Read More: 15 Excellent Mood Lighting Bedroom Ideas & Hacks
Gathering the Necessary Tools and Materials
Essential Tools for Wiring
You’ll need various tools, including wire strippers, a voltage tester, a fish tape or wire snake for running wires through walls, wire connectors (wire nuts), electrical tape, a level, screwdrivers, and possibly a stud finder. Safety glasses and work gloves are also essential.
Choosing the Right Wiring Materials
Select the correct gauge wire based on the circuit amperage. Ensure all outlets and switches are rated for the appropriate voltage and amperage. Use appropriate junction boxes for connecting wires, ensuring they are securely mounted and meet code requirements.
Turning Off the Power
Locating the Breaker Box
Before starting any electrical work, always turn off the power to the circuit you’ll be working on. Locate your main breaker box and identify the breaker controlling the circuit you’ll be working with. Turn the breaker to the “off” position.
Verifying Power is Off
Use a voltage tester to verify that the power is indeed off at the outlet and switch locations you’ll be working on. This is a crucial safety step to prevent electrocution.
Running the Wiring
Fishing Wires Through Walls
Carefully run the wires through the walls, using a fish tape or wire snake to guide them through the cavities. Make sure the wires are not pinched or damaged. Consult your wiring diagram to ensure accurate placement.
Connecting Wires in Junction Boxes
Securely connect the wires in junction boxes using wire connectors (wire nuts). Ensure all connections are tight and twist-on wire connectors. Avoid overloading the junction boxes. Always follow local and national electrical codes.
Installing Outlets and Switches
Mounting Outlet and Switch Boxes
Securely mount the outlet and switch boxes to the wall studs using appropriate screws. Ensure they are level and flush with the wall. This is essential for a neat and safe installation.
Connecting Wires to Outlets and Switches
Connect the wires to the outlets and switches according to the wiring diagram and the device’s instructions. Make sure to follow color codes for the wires (typically black for hot, white for neutral, and green or bare copper for ground). Always double-check your connections.
Installing Light Fixtures
Mounting the Light Fixture
Mount the light fixture according to the manufacturer’s instructions. Ensure it’s securely fastened and level. This step requires careful attention to detail, following the fixture’s specific instructions.
Wiring the Light Fixture
Connect the wires from the fixture to the wires in the junction box, following the color codes and the fixture’s wiring diagram. Make sure all connections are secure.
Testing and Inspection
Testing the Electrical System
After completing the wiring, turn the breaker back on and test all outlets, switches, and light fixtures. Verify that everything is functioning correctly. If anything doesn’t work, carefully check your connections.
Understanding Local Electrical Codes
It’s crucial to comply with all local and national electrical codes. These regulations ensure safety and prevent potential hazards. Non-compliance can result in serious problems, including fines and potentially dangerous electrical situations.
Troubleshooting Common Problems
Identifying Faulty Wiring
If a circuit is not working, use a voltage tester to check for power at different points in the circuit. This will help identify the location of the problem. Look for loose connections or damaged wires.
Addressing Tripped Breakers
A tripped breaker indicates an overload or short circuit. Identify the cause of the overload (too many appliances on the circuit) or short circuit (damaged wire or faulty appliance). Always address the root cause before resetting the breaker.
Advanced Wiring Techniques
Three-Way and Four-Way Switches
For controlling a light from multiple locations, you’ll need three-way or four-way switches. These switches require a more complex wiring configuration than standard single-pole switches. Understanding the wiring diagrams for these switches is essential.
Wiring Multiple Circuits
Larger rooms may require multiple circuits to handle the load. This requires careful planning and attention to detail. Make sure each circuit is properly protected by its own breaker.
Safety Precautions
Working with Electricity Safely
Electricity is dangerous. Always turn off the power before working on any electrical circuits. Use caution and avoid touching live wires. Wear appropriate safety gear, such as safety glasses and gloves.
Getting Professional Help
If you’re not comfortable working with electricity or if the project is complex, consult a qualified electrician. This ensures a safe and compliant installation.
Benefits of DIY Electrical Work
Cost Savings
DIY projects can significantly reduce the cost of electrical work compared to hiring a professional electrician. The savings can be substantial depending on the scope of the project.
Greater Control and Customization
DIY electrical work allows for greater control over the project’s design and implementation, enabling customization to perfectly fit your needs and preferences.
Limitations of DIY Electrical Work
Potential for Errors
Improper wiring can result in electrical hazards, such as fires and electrocution. This is the main risk of DIY projects. Always double check your work and use the right tools.
Safety Concerns
Working with electricity poses inherent risks. Only undertake DIY electrical work if you have the necessary knowledge and skills. If unsure, seek professional help.
Frequently Asked Questions
What are the common causes of electrical fires?
Overloaded circuits, faulty wiring, and malfunctioning appliances are major causes of electrical fires. Always use correctly sized wiring and ensure appliances are in good working condition. Regular inspection of electrical systems is also important. Never overload circuits.
How do I choose the right gauge wire for my project?
The gauge of the wire depends on the amperage of the circuit. Consult the National Electrical Code (NEC) for recommendations on wire gauges for different amperage ratings. Using the wrong gauge can lead to overheating and fire.
What is a GFCI outlet, and why is it important?
A GFCI (Ground Fault Circuit Interrupter) outlet is a safety device that detects ground faults and cuts off power quickly, preventing electric shock. They are essential in wet areas like kitchens and bathrooms.
Can I use a dimmer switch with any type of light bulb?
Not all dimmer switches are compatible with all types of light bulbs. Incandescent bulbs work with most dimmer switches, but LED and CFL bulbs require dimmer switches specifically designed for them to avoid flickering and damage.
What is the difference between a single-pole and a double-pole switch?
A single-pole switch controls a light from one location. A double-pole switch controls two separate circuits, often used for high-wattage loads. These are different from three-way switches that operate from two different places.
How often should I inspect my home’s electrical system?
Regular inspections are essential for safety. Check for loose connections, damaged wires, or signs of overheating. A yearly inspection is recommended, or more frequently if you notice any issues.
What are the consequences of incorrect wiring?
Incorrect wiring can cause several problems: power outages, appliance malfunctions, fire, electric shock, and even death. Always consult a qualified electrician or rely on reputable DIY guides.
Final Thoughts
Wiring a room with lights and outlets is a rewarding project, but it’s essential to prioritize safety and follow proper procedures. This comprehensive guide has provided you with a solid foundation of knowledge and skills, but remember that electrical work carries inherent risks. If you lack confidence or experience, seeking professional help is always the safest approach. By following the steps outlined above and adhering to safety regulations, you can successfully upgrade your home’s electrical system, increasing its value and convenience. Remember to always double-check your work, and consult relevant codes and regulations for your specific location. This will help ensure your DIY project is successful and safe. Happy wiring!