
How to Add Can Lights to a Room? A Comprehensive Guide To Installing Can Lights
How to add can lights to a room? Adding recessed lighting, often called can lights, can dramatically improve a room’s ambiance and functionality. This guide provides a comprehensive walkthrough, from planning and purchasing to installation and troubleshooting, ensuring you confidently tackle this home improvement project. We’ll cover everything from choosing the right fixtures to understanding…
How to add can lights to a room? Adding recessed lighting, often called can lights, can dramatically improve a room’s ambiance and functionality. This guide provides a comprehensive walkthrough, from planning and purchasing to installation and troubleshooting, ensuring you confidently tackle this home improvement project. We’ll cover everything from choosing the right fixtures to understanding electrical safety procedures. Whether you’re a seasoned DIYer or a complete beginner, you’ll find the information you need here.
Can lights, or recessed lights, are fixtures installed into the ceiling, leaving only the light itself visible. They offer a clean, modern look and are highly versatile, available in various styles, sizes, and finishes to complement any room’s decor. Their popularity stems from their ability to provide both ambient and task lighting, depending on placement and bulb type.
Recessed lighting
offers numerous advantages over other lighting solutions. These include energy efficiency (with LED options), flexible placement for customized lighting schemes, a sleek and unobtrusive appearance, and improved room brightness and ambiance. They’re ideal for accentuating architectural details or highlighting artwork. The even distribution of light can also be beneficial for tasks requiring good visibility.
How to Add Can Lights to a Room?
To add can lights, plan the layout, turn off power, mark placement, cut ceiling holes, run electrical wiring, connect the lights, insert can housings, and secure trims. Use a voltage tester for safety. Finally, turn on power and test each light. Hiring an electrician is recommended for complex setups.
Planning Your Can Light Installation: Assessment and Design

Before you start, carefully plan your lighting layout. Consider the room’s size, existing electrical wiring, and desired lighting effects. Measure the ceiling height and joist locations to avoid obstructions. Draw a detailed diagram showing the placement of each can light and the location of your electrical panel.
Read More: Installing A Ceiling Light: How to Add a Ceiling Light in a Room?
Choosing the Right Can Lights: Types, Styles, and Features
Can lights come in various sizes (e.g., 4-inch, 6-inch), styles (e.g., flush-mount, adjustable), and finishes (e.g., brushed nickel, white). Consider the wattage, color temperature (Kelvin), and light output (lumens) to find the perfect fit for your needs. LED lights are increasingly popular due to their energy efficiency and long lifespan. Dimmable options offer greater control over the ambiance.
Necessary Tools and Materials: Gathering Your Supplies
You’ll need several tools for installation, including a stud finder, drill, hole saw (sized to match your can lights), wire strippers, wire connectors, voltage tester, and safety glasses. Essential materials include can lights, electrical wiring (14/2 or 12/2 gauge), junction boxes, insulation, and mounting hardware. Remember to purchase enough wire for the distance to your electrical panel.
Electrical Safety Precautions: Protecting Yourself and Your Home
Electrical work carries inherent risks. Always disconnect the power to the circuit before starting any work. Use a voltage tester to confirm the power is off. Wear appropriate safety gear, including safety glasses and gloves. If you’re uncomfortable working with electricity, consult a qualified electrician.
Read More: 15 Brilliant Kitchen Ceiling Lights Flush Mount to Brighten Every Meal
Step-by-Step Installation Process: A Detailed Guide
The installation process involves several crucial steps: locating and marking the positions for your can lights, cutting holes in the ceiling, installing junction boxes, connecting wires, mounting the can lights, and testing the fixtures. Each step requires precision and careful attention to detail. Refer to the manufacturer’s instructions for your specific can lights for precise guidance.
Wiring Can Lights: Connecting to the Existing Circuit
Proper wiring is essential for safety and functionality. Connect the wires (hot, neutral, ground) from each can light to the existing circuit wiring according to the electrical codes. Use wire connectors to secure the connections and ensure they are properly insulated. Make sure your connections are neat and organized within the junction box. This step often involves some splicing.
Troubleshooting Common Issues: Addressing Potential Problems
During installation, you might encounter issues such as incorrect wiring, loose connections, or faulty fixtures. Troubleshooting these problems can save time and prevent further complications. Using a voltage tester is key to diagnose potential problems. If you encounter persistent issues it is best to consult with a qualified electrician.
Finishing Touches and Aesthetics: Enhancing the Look
Once the can lights are installed and working correctly, finish the job with a professional touch. Ensure the trim rings are securely fastened and the ceiling is patched and painted seamlessly. Consider adding decorative elements to complement the room’s design.
Alternatives to Recessed Lighting: Exploring Other Options
While recessed lighting is a popular choice, other options like track lighting, pendant lights, or even strategically placed floor lamps can provide similar benefits. The best choice will depend on the room’s characteristics and your personal preferences. These may be better options for rooms with low ceilings where can lights would be difficult to install.
Cost Considerations: Budgeting for Your Project
The cost of installing can lights depends on several factors, including the number of fixtures, the type of lights, the complexity of the installation, and whether you hire a professional. Obtain estimates from multiple suppliers and contractors to compare pricing. Factor in the cost of materials, labor, and permits (if required).
Maintaining and Replacing Can Lights: Extending Their Lifespan
Regular maintenance can help extend the lifespan of your can lights. This includes cleaning the fixtures periodically and replacing bulbs as needed. Over time, bulbs might dim or fail, so keeping spares is always a good idea. Improperly installed lights may have premature failure, therefore attention to the installation process is crucial.
Comparing Different Can Light Brands and Models
Various brands offer can lights with varying features and price points. Research different brands, compare specifications, read customer reviews, and choose a brand that meets your needs and budget. Consider factors such as energy efficiency, dimming capabilities, and warranty.
Advanced Installation Techniques: For Experienced DIYers
For more experienced DIYers, advanced techniques like using a dimmer switch, installing multiple circuits, or incorporating smart lighting features can enhance the functionality of your lighting system. Understanding electrical codes and safety practices is crucial before attempting these advanced techniques.
Choosing the Right Bulbs: Types and Considerations
The type of bulb you choose significantly impacts the lighting quality, energy consumption, and lifespan of your can lights. LED bulbs are energy-efficient and long-lasting. Halogen bulbs offer bright light, while incandescent bulbs create a warm glow. The color temperature (measured in Kelvin) influences the appearance of the light – cooler temperatures (higher Kelvin) appear bluer, while warmer temperatures (lower Kelvin) appear more yellow or orange.
Integrating Smart Lighting Technology: Adding Automation and Control
Smart lighting systems allow for remote control and automation of your can lights, providing enhanced convenience and energy efficiency. These systems can be integrated with other smart home devices for a cohesive experience. Consider compatibility with your existing smart home setup when choosing a smart lighting system.
Frequently Asked Questions
What is the average cost of installing can lights?
The cost varies greatly depending on factors like the number of lights, materials used, and labor costs. A rough estimate for a basic installation might range from $100 to $500 per light, but this can easily increase significantly for more complex projects or if you hire a professional.
How many can lights should I install per room?
The optimal number depends on the room’s size, shape, and intended use. A larger room will generally require more lights than a smaller one. Consider the ambient lighting requirements and any need for task lighting in specific areas.
Can I install can lights myself, or should I hire an electrician?
While DIY installation is possible for those comfortable with electrical work, it’s advisable to hire a licensed electrician, especially if you lack experience. Incorrect wiring can lead to fire hazards or electrical shock.
What size hole saw do I need for can lights?
The size of the hole saw depends on the size of the can light fixture. The manufacturer’s instructions for your specific can lights will specify the correct hole saw size.
How do I choose the right color temperature for my can lights?
Color temperature is measured in Kelvin. Lower Kelvin values (e.g., 2700K) produce warmer, yellowish light, suitable for living rooms and bedrooms. Higher Kelvin values (e.g., 5000K) produce cooler, bluish light, better for kitchens and bathrooms.
What type of wiring is needed for can lights?
Generally, 14/2 or 12/2 gauge wiring is suitable for most can light installations. The choice depends on the wattage of the lights and the length of the run to the electrical panel.
Final Thoughts
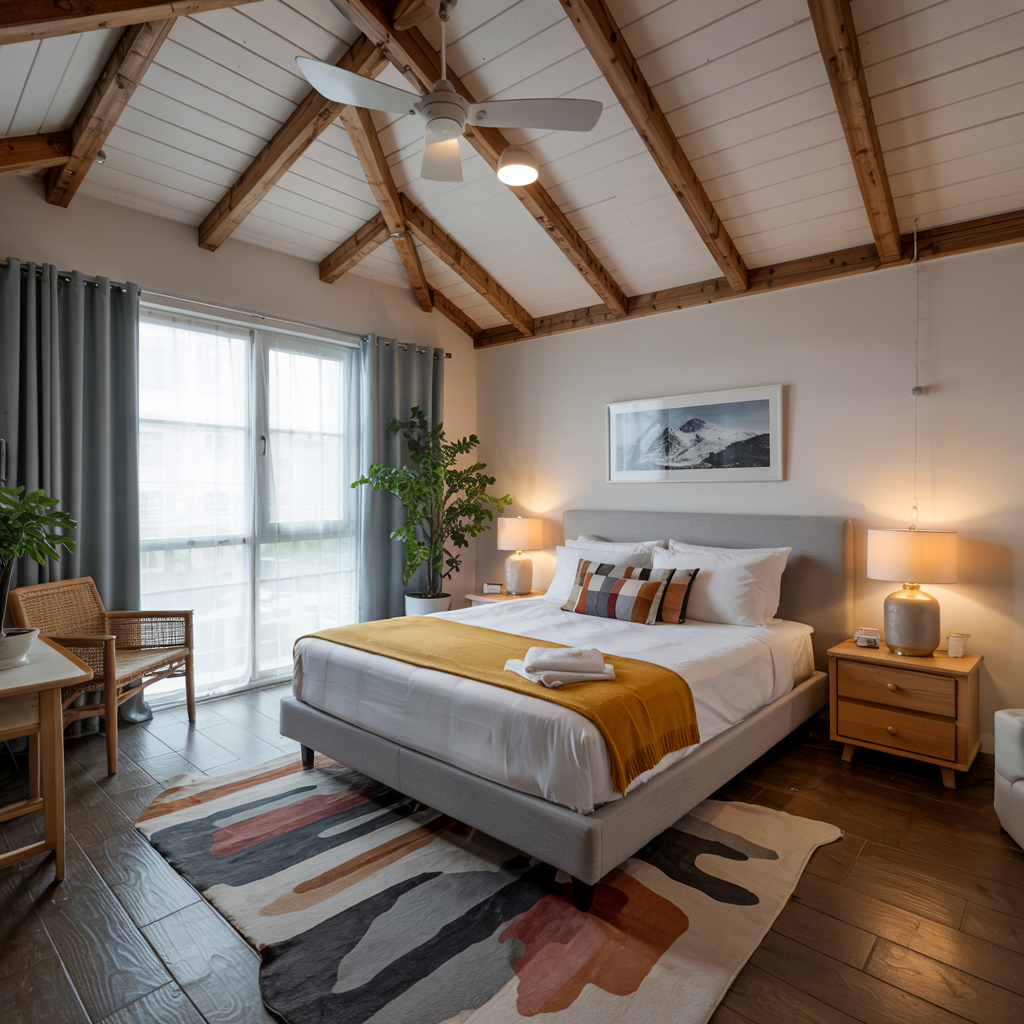
How to add can lights to a bedroom? Adding can lights to your room is a rewarding project that significantly enhances the aesthetics and functionality of your space. Remember to carefully plan your layout, choose the right fixtures, and prioritize electrical safety throughout the installation process. This comprehensive guide has covered the crucial steps involved, helping you create stunning and effective lighting in your home. Whether you handle the installation yourself or hire a professional, the result will be a brighter, more welcoming room that you can enjoy for years to come. Don’t hesitate to tackle this home improvement project – the transformation is well worth the effort.