
Illuminating Your Space: A Comprehensive Guide On How To Attach LED Strip Lights
Ready to transform your home with the vibrant glow of LED strip lights? This guide will walk you through everything you need to know, from choosing the right lights to installing them flawlessly. We’ll cover different types of LED strips, installation methods for various surfaces, troubleshooting common issues, and much more. Whether you’re a seasoned…
Ready to transform your home with the vibrant glow of LED strip lights? This guide will walk you through everything you need to know, from choosing the right lights to installing them flawlessly. We’ll cover different types of LED strips, installation methods for various surfaces, troubleshooting common issues, and much more. Whether you’re a seasoned DIY enthusiast or a complete beginner, you’ll find this a comprehensive resource for mastering the art of how to attach LED strip lights.
LED strip lights are flexible circuits containing multiple small LED lights. They come in various lengths, colors (single-color or RGB), and brightness levels. Their flexibility makes them ideal for illuminating hard-to-reach areas or creating unique lighting designs.
How to Attach LED Strip Lights?

From this section, you will get a complete guide to attach your LED strip lights without facing any issues. So, keep reading without facing.
There are several types, including:
-
- Single-color
LED strips:
Offer a single color (e.g., warm white, cool white, red, blue). - RGB LED strips: Allow you to mix and match colors for a wide range of hues and effects, often controlled via a remote or app.
- RGBW LED strips: Similar to RGB but include a white LED for increased brightness and color accuracy.
- Waterproof LED strips: Suitable for outdoor use or areas prone to moisture. Look for an IP rating (e.g., IP65 or higher).
- Single-color
Read More: How to Add LED Lights to Back of Mirror? A Comprehensive Guide
Choosing the Right LED Strip Lights
Factors to Consider
Before purchasing, consider factors like:
-
- Length: Measure the area you want to illuminate.
- Color: Choose a color that complements your decor.
- Brightness: Measured in lumens, higher lumens mean brighter light.
- Power supply: Ensure the power supply matches the voltage and amperage requirements of your LED strip.
- Connectivity: Some strips are self-adhesive; others may require clips or channels.
Preparing for Installation

Safety Precautions
Always disconnect the power before working with electricity. Wear safety glasses to protect your eyes from debris. If unsure, consult a professional electrician.
Gathering Your Tools
You’ll likely need:
-
- LED strip lights
- Power supply
- Connector(s)
- Measuring tape
- Scissors
- Cleaning wipes
- Optional: Adhesive clips, aluminum channel, wire strippers
Read More: LED Lighting Costs: How Much Are LED Lights?
Installing LED Strip Lights: Step-by-Step Guide
Surface Preparation
Clean the surface where you’ll attach the lights. Dust, grease, and moisture can affect the adhesive’s hold.
Applying the Adhesive
Most LED strips have an adhesive backing. Peel off the protective liner and press firmly onto the cleaned surface. Ensure good contact to prevent peeling.
Connecting the Power Supply
Carefully connect the power supply to the LED strip, ensuring proper polarity (positive (+) and negative (-)). Use connectors as needed to extend the strip or connect to a controller.
Mounting Methods: Different Surfaces, Different Approaches
Installing on Flat Surfaces
For flat surfaces like walls or ceilings, the adhesive backing usually suffices. Use a level to ensure straight lines.
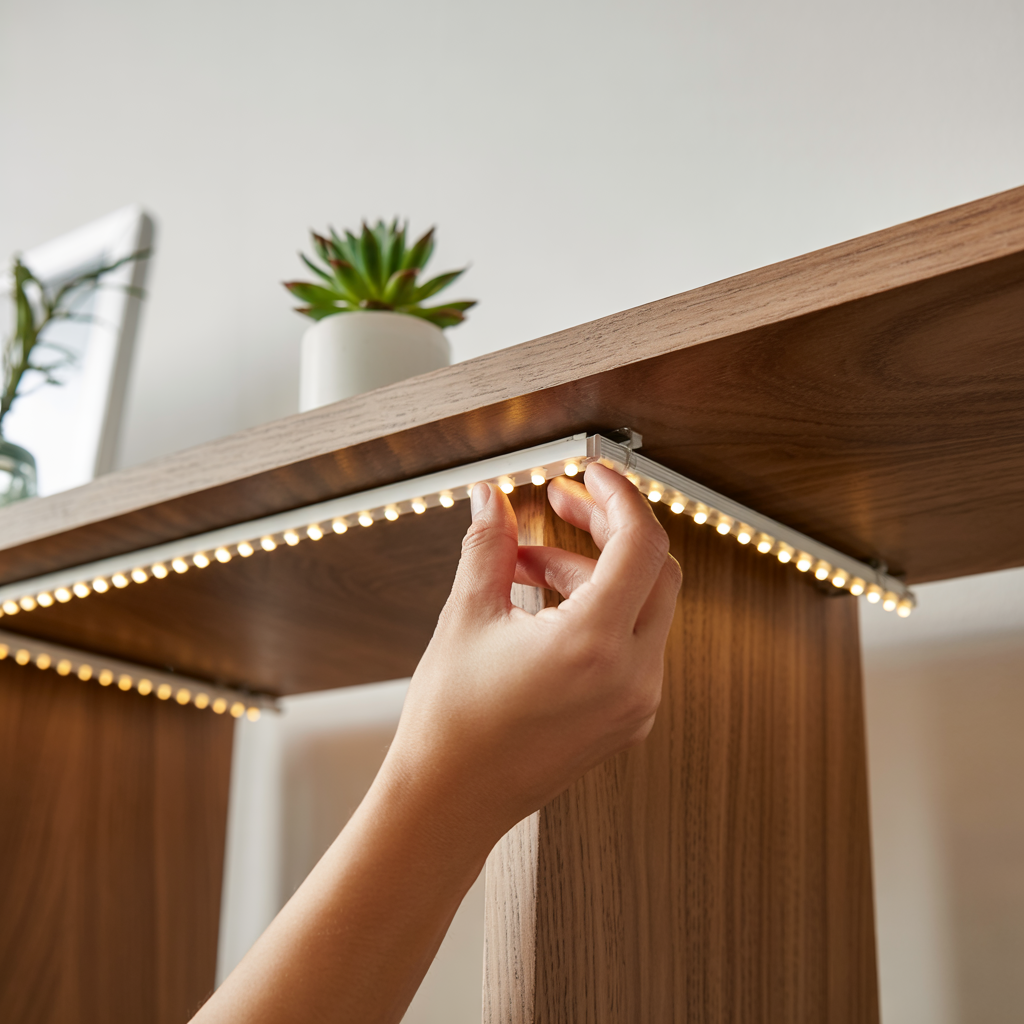
Installing in Corners or Curves
For corners or curves, use adhesive clips or an aluminum channel to guide and support the strip lights. This provides a neater and more secure installation.
Installing in Recessed Areas
For recessed areas, you may need to use longer wires or extension cables. Always use properly sized wire gauge for your LED strip’s power draw.
Read More: Can LEDs Emit UVC Spectrum Light? Understanding UVC LEDs And Their Applications
Working with Different LED Strip Configurations
Connecting Multiple Strips
Many LED strips can be connected end-to-end to create longer runs. Follow the manufacturer’s instructions for connecting strips correctly. Use the appropriate connectors to ensure reliable connections.
Using LED Strip Controllers
RGB and RGBW LED strips usually require a controller to manage color and brightness settings. These controllers can be wired directly to the strip or connected wirelessly via Bluetooth or WiFi.
Troubleshooting Common Issues
Lights Not Working
Check the power supply connections, the fuses, and the polarity of the connections. Make sure your power supply is adequate for your strip’s power draw.
Uneven Brightness
Inspect the connections for loose wires or faulty solder joints. Ensure that the power supply is delivering sufficient voltage and current.
Benefits and Limitations of LED Strip Lights
Advantages of LED Strip Lights
-
- Energy efficiency
- Long lifespan
- Versatile design options
- Easy installation
- Affordable cost
Limitations of LED Strip Lights
-
- Limited brightness compared to other lighting solutions
- Susceptible to heat damage
- Adhesive may not always adhere to all surfaces perfectly
Comparing LED Strip Lights to Other Lighting Options
LED Strip Lights vs. Traditional Lighting
LED strips offer more design flexibility than traditional lighting, but may not provide the same level of brightness in all applications.
LED Strip Lights vs. Other LED Lighting
Compare the features and price points of different LED lighting options like recessed lights or pendant lights to find what best suits your needs.
Maintaining and Extending the Life of Your LED Strip Lights
Cleaning Your LED Strip Lights
Gently wipe with a soft, dry cloth to remove dust and debris. Avoid using harsh chemicals or abrasive cleaners.
Proper Heat Management
Ensure adequate ventilation to prevent overheating, which can reduce the lifespan of the LED lights.
Advanced LED Strip Light Techniques and Projects
Creating Custom Lighting Designs
Experiment with different layouts, color schemes, and mounting methods to create unique lighting effects in your home.
Integrating LED Strip Lights with Smart Home Systems
Many smart LED strips can be integrated with popular smart home platforms (e.g., Amazon Alexa, Google Home) for voice control and automation.
Frequently Asked Questions
What types of adhesives are used for LED strip lights?
Most LED strips use a strong 3M adhesive. However, for more demanding installations, additional adhesives or mechanical fasteners may be necessary.
Can I cut LED strip lights?
Yes, but only at designated cutting points indicated on the strip. Cutting outside these points may damage the circuit.
How do I extend the length of my LED strip lights?
You can extend the length by connecting additional strips using appropriate connectors. Ensure the total power draw does not exceed the capacity of your power supply.
What happens if I connect the wires incorrectly?
Incorrectly connecting the wires (incorrect polarity) can damage the LED strip or even cause a fire. Always double-check your connections.
How often should I replace my LED strip lights?
LED strip lights can last for many years, but their lifespan depends on factors such as usage, heat exposure, and quality.
Are LED strip lights energy-efficient?
Yes, LED strip lights are significantly more energy-efficient than traditional incandescent or fluorescent lighting.
Final Thoughts
Attaching LED strip lights can seem daunting at first, but with the right information and tools, it’s a manageable DIY project. This guide provides a comprehensive overview of the process, from selecting the correct lights and preparing your surfaces to troubleshooting common problems and exploring advanced techniques. Remember to prioritize safety and always double-check your connections before turning on the power. By following these steps, you can transform your home with stunning, customized lighting that enhances both ambiance and functionality. Now, go ahead and illuminate your world!