
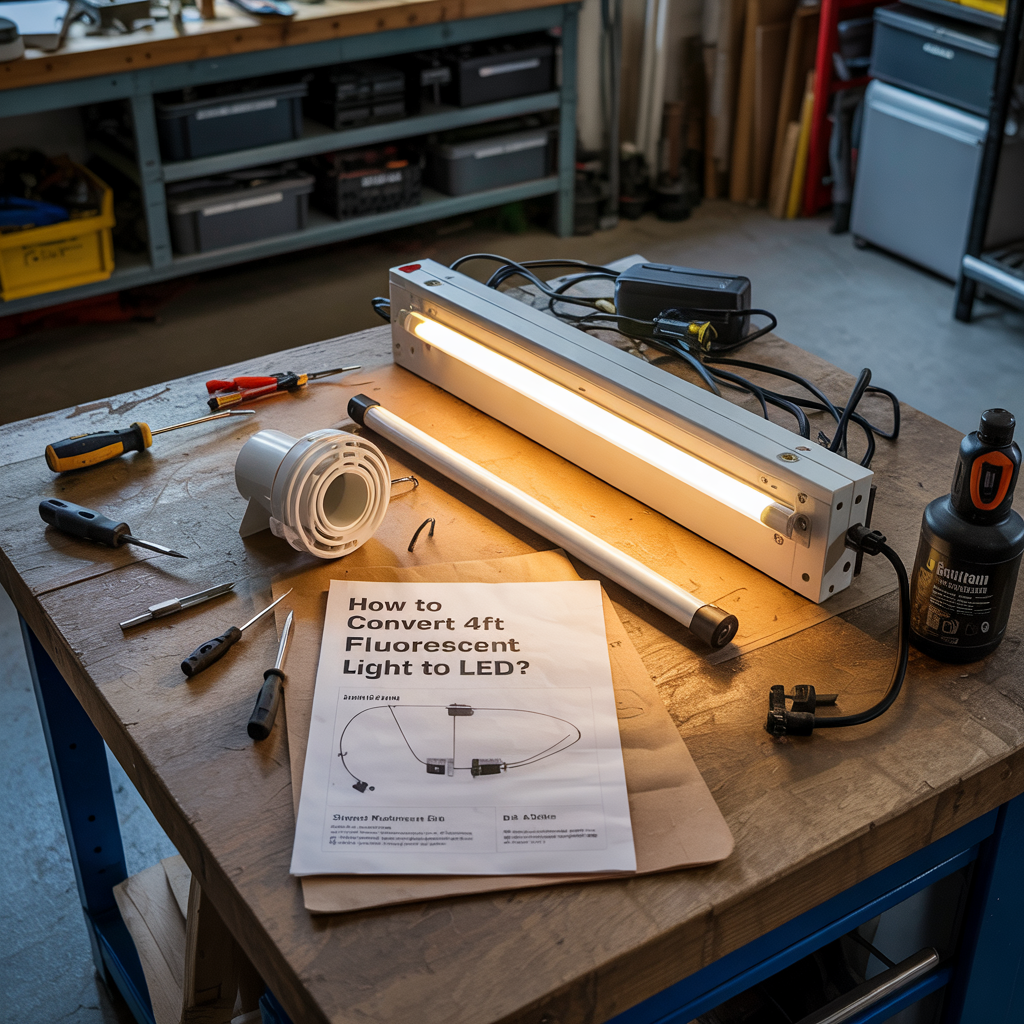
How to Convert 4ft Fluorescent Light to LED? Easiest Way
How to convert 4ft fluorescent light to LED? To convert a 4ft fluorescent light to LED, turn off power, remove the fluorescent tube, bypass the ballast by rewiring the fixture (hot and neutral wires directly to tombstones), install compatible non-shunted tombstones if needed, insert the LED tube, then restore power. Always follow the LED tube’s…
How to convert 4ft fluorescent light to LED? To convert a 4ft fluorescent light to LED, turn off power, remove the fluorescent tube, bypass the ballast by rewiring the fixture (hot and neutral wires directly to tombstones), install compatible non-shunted tombstones if needed, insert the LED tube, then restore power. Always follow the LED tube’s wiring diagram for safety and compatibility.
Fluorescent lights work by exciting mercury vapor inside a glass tube coated with phosphor. This creates ultraviolet (UV) light, which then interacts with the phosphor to produce visible light. While cost-effective initially, they are known for their inefficient energy use, shorter lifespan, and potential mercury hazards.
LEDs (Light Emitting Diodes) are significantly more energy-efficient, lasting much longer than fluorescent tubes.
They offer better color rendering and instant-on capability, eliminating the flickering associated with some fluorescents. Furthermore, LEDs contain no mercury, making them a safer environmental choice.
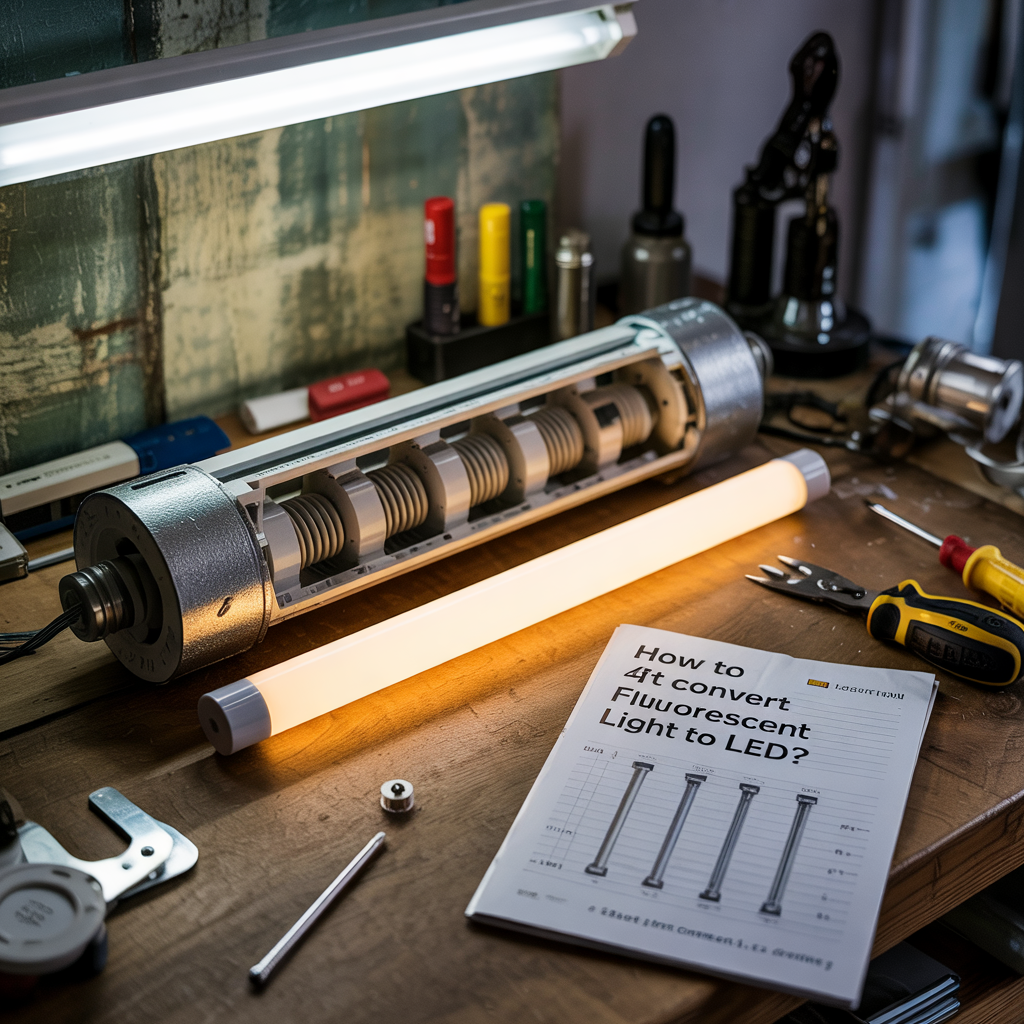
How to Convert 4ft Fluorescent Light to LED?
To convert a 4ft fluorescent light to LED, disconnect power, remove the old tube, and bypass the ballast by rewiring the fixture. Connect hot and neutral wires directly to the sockets (tombstones), then install a compatible LED tube. This upgrade improves energy efficiency, reduces maintenance, and provides better lighting. Always follow the LED tube’s wiring instructions.
Read More: How to Connect LED Lights Together Without Connector? A Simple Step Need To Follow
Types of 4ft LED Light Fixtures
Direct Replacement Tubes
These tubes are designed to fit directly into existing fluorescent fixtures. They’re the simplest option for conversion, often requiring no wiring changes. However, the ballast (which controls the current in traditional fluorescent lights) might need to be bypassed or removed, depending on the fixture’s design.
Integrated LED Fixtures
These are complete units, replacing the entire fluorescent fixture. They offer a more modern look and often include features like dimming capabilities or integrated sensors. This option is generally more costly upfront but can lead to significant long-term energy savings.
Choosing the Right LED Replacement
Lumens and Wattage
Pay close attention to the lumens (light output) and wattage. LEDs are far more efficient than fluorescents, so an LED with lower wattage can still produce comparable lumens. Look for LED tubes that match or slightly exceed the lumens of your existing fluorescent tube for equivalent brightness.
Color Temperature
Color temperature is measured in Kelvin (K). Lower Kelvin values (2700K-3000K) produce warmer, yellowish light, suitable for living rooms and bedrooms. Higher Kelvin values (5000K-6500K) produce cooler, whiter light, better for offices or garages.
Color Rendering Index (CRI)
The CRI measures how accurately colors appear under the light source. A higher CRI (above 80) means more accurate color reproduction, which is beneficial if you require true-to-life color representation in your space. A CRI of 90 or higher is considered excellent.
Tools and Materials Needed for Conversion
The specific tools and materials will depend on whether you’re using direct replacement tubes or integrated fixtures. However, you’ll likely need a screwdriver (Phillips and flathead), safety glasses, and possibly a voltage tester and wire strippers if you need to bypass the ballast.
Read More: Illuminating Your Space: A Comprehensive Guide On How To Attach LED Strip Lights
Step-by-Step Conversion Process: Direct Replacement Tubes
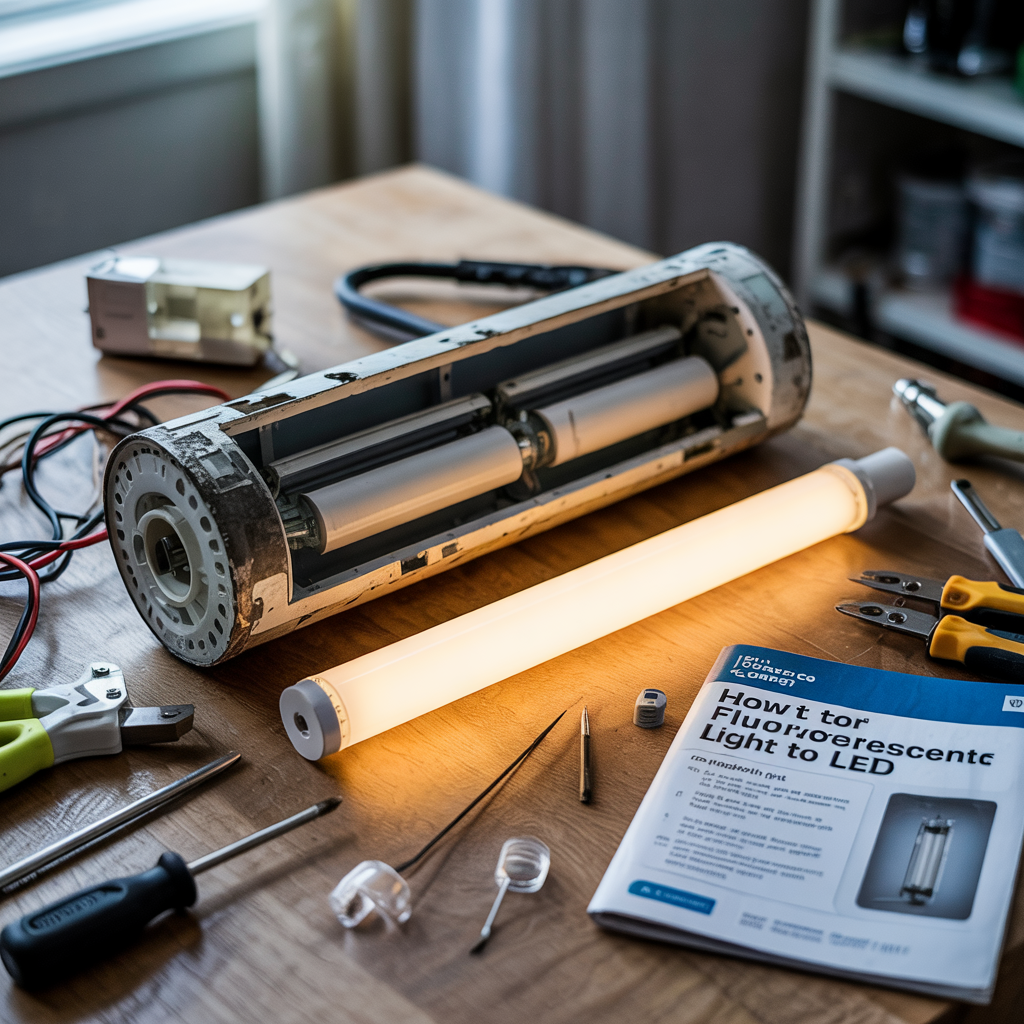
Safety First
Always turn off the power at the breaker box before starting any electrical work. This is crucial to prevent electric shock and injury.
Removing the Old Fluorescent Tube
Carefully remove the old fluorescent tube from its fixture. Many fixtures require you to twist or gently pull the tube out. Consult your fixture’s instructions if needed.
Bypassing or Removing the Ballast
Depending on your fixture, you may need to bypass or remove the ballast. Consult the instructions provided with your LED tubes for guidance. This often involves disconnecting wires from the ballast and connecting them directly to the fixture’s terminals.
Installing the LED Tube
Insert the new LED tube into the fixture, ensuring it is properly seated. You may need to gently twist it to lock it into place.
Testing the Light
Turn the power back on at the breaker box and test the new LED light. It should turn on immediately without flickering. If there are any issues, recheck your connections and wiring.
Read More: How to Add LED Lights to Back of Mirror? A Comprehensive Guide
Step-by-Step Conversion Process: Integrated Fixtures
Removing the Old Fixture
Disconnect the power at the breaker box. Carefully remove the old fluorescent fixture from the ceiling or wall. This often involves unscrewing mounting brackets.
Wiring the New Fixture
Connect the wires from the new LED fixture to the existing wiring in the ceiling or wall, matching the corresponding colors (e.g., black to black, white to white, ground to ground). Use wire connectors to secure the connections.
Mounting the New Fixture
Mount the new LED fixture in place using the provided mounting hardware. Ensure the fixture is securely attached.
Testing the Light
Turn the power back on and test the new LED light.
Benefits of Converting to LED Lighting
Energy Savings
LEDs use significantly less energy than fluorescent lights, resulting in lower electricity bills. This translates into both cost savings and a reduced environmental impact.
Longer Lifespan
LED lights typically last much longer than fluorescent tubes, reducing the frequency of replacements and minimizing waste.
Improved Light Quality
LEDs offer better color rendering and instant-on capability, providing a more pleasant and comfortable lighting experience.
Environmental Friendliness
LEDs contain no mercury, making them a safer and more environmentally responsible choice than fluorescent lights.
Limitations and Considerations
Initial Cost
While the long-term savings are substantial, the initial cost of LED conversion can be higher than simply replacing fluorescent tubes.
Heat Dissipation
LEDs generate heat, and adequate ventilation is crucial to prevent overheating and maintain optimal performance. Ensure the fixture has sufficient airflow.
Dimming Compatibility
Not all LED lights are compatible with all dimming systems. Check for compatibility information before purchasing.
Comparing LED and Fluorescent Lighting
Create a table comparing energy efficiency, lifespan, cost, environmental impact, light quality, and initial investment.
Troubleshooting Common Issues
Flickering Lights
This can indicate a problem with wiring or a faulty LED tube. Check all connections, ensure the ballast is bypassed correctly if necessary, and try a different tube.
Dim Light Output
This could result from a faulty LED or improper installation. Ensure the tube is properly seated and try replacing it.
Maintenance and Care of LED Lights
LEDs generally require minimal maintenance. Regular cleaning of the fixture will help maintain optimal light output.
Choosing the Right Ballast Bypass Kit
If you’re bypassing a ballast, selecting a kit suitable for your fixture type is crucial. The kit must handle the voltage and current of your LED tubes. Mismatching may lead to malfunction or safety hazards.
Safety Precautions During Conversion
Always disconnect the power at the breaker box before starting any work. Use appropriate safety glasses to protect your eyes from potential hazards.
Long-Term Cost Savings Analysis
Conduct a cost analysis comparing the long-term running costs of fluorescent versus LED lighting, factoring in the price difference and energy consumption.
Frequently Asked Questions
What is the average lifespan of an LED tube compared to a fluorescent tube?
LED tubes typically last 50,000 hours or more, significantly longer than fluorescent tubes, which usually last around 10,000-20,000 hours.
Are LED tubes compatible with all fluorescent fixtures?
Most direct replacement LED tubes are compatible, but some fixtures may require ballast removal or bypassing. Consult the tube’s instructions and your fixture’s specifications.
How do I dispose of old fluorescent tubes properly?
Fluorescent tubes contain mercury, so they should not be thrown in the regular trash. Check with your local waste management facility for proper disposal instructions, as they often have designated collection points for hazardous waste.
Can I use LED tubes in dimmable fixtures?
Not all LED tubes are dimmable. Check the packaging to ensure the tubes are specifically rated for use with dimmers. Use a dimmer compatible with the specific LED type you choose.
Final Thoughts
Converting your 4ft fluorescent lights to LEDs is a worthwhile investment that offers substantial long-term energy savings, improved light quality, and enhanced environmental responsibility. By following the steps outlined in this guide, and paying attention to choosing the correct LED replacements and ensuring the proper setup, you can enjoy the benefits of brighter, more efficient, and eco-friendly lighting in your home or workplace. Remember to always prioritize safety by turning off the power before beginning any electrical work. Now, go ahead and illuminate your space with the efficiency and brilliance of LED technology!