
Unlocking The Secrets: A Comprehensive Guide On How To Open LED Light Remote
Have you ever struggled with a malfunctioning LED light remote? Finding the right way to open it can seem daunting, but understanding its mechanics and construction opens up a world of possibilities—from replacing dead batteries to performing repairs. This comprehensive guide will teach you exactly how to open LED light remote, regardless of its design….
Have you ever struggled with a malfunctioning LED light remote? Finding the right way to open it can seem daunting, but understanding its mechanics and construction opens up a world of possibilities—from replacing dead batteries to performing repairs. This comprehensive guide will teach you exactly how to open LED light remote, regardless of its design. We’ll cover various types, common issues, troubleshooting tips, and even preventative maintenance to ensure your lights stay bright for years to come. You’ll learn about different remote designs, tools needed for disassembly, and how to safely put everything back together.
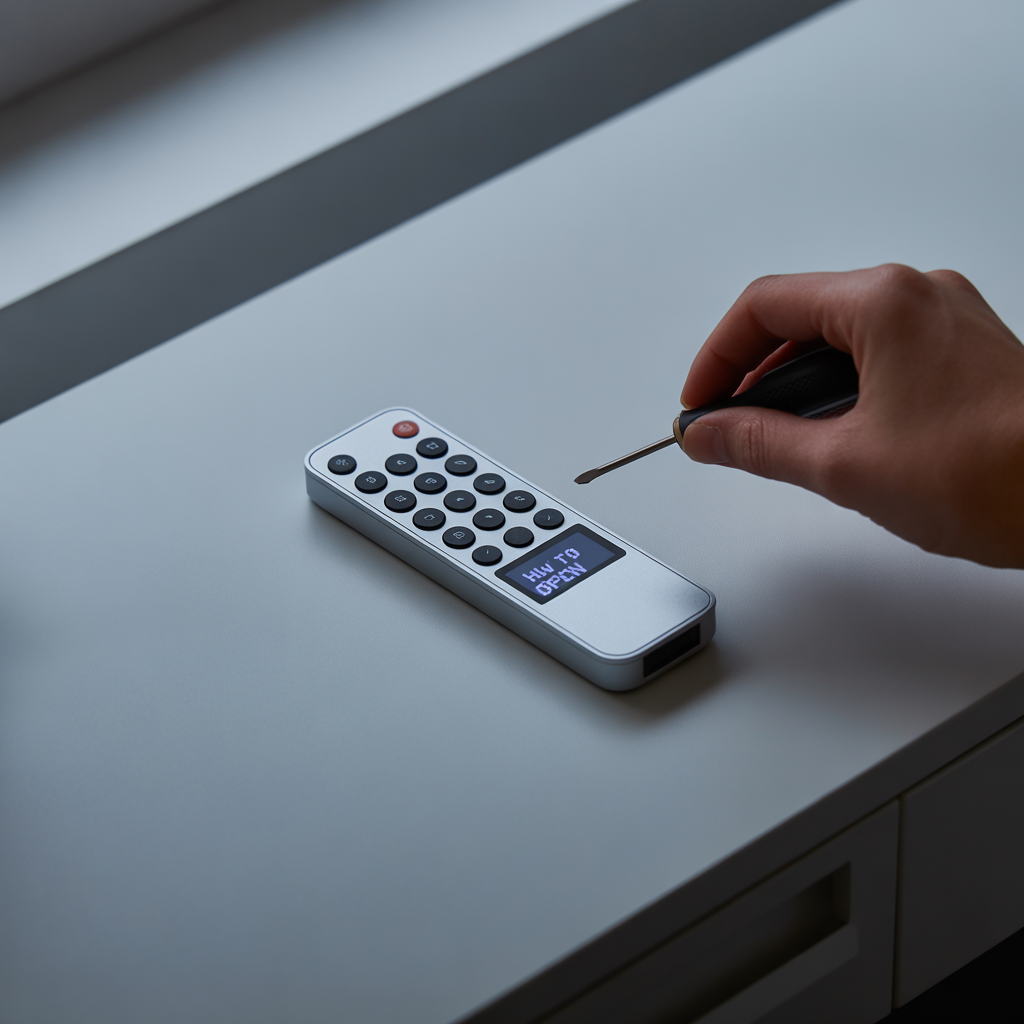
To open an LED light remote, gently slide or pry off the battery cover on the back using your thumb or a small flat tool. If there are screws, remove them with a precision screwdriver. Carefully separate the casing without forcing to avoid damaging the internal circuit board.
LED light remotes control the illumination of LED lights, often offering features like dimming, color temperature adjustment, and scene setting. They communicate wirelessly using infrared (IR) signals or, less commonly, radio frequency (RF) signals. Understanding the type of signal your remote uses is crucial in troubleshooting.
How To Open LED Light Remote?
Types of LED Light Remotes
LED light remotes vary widely in their design and construction. Some are simple, single-button devices, while others are sophisticated multi-functional units with numerous buttons and features. The construction material can range from inexpensive plastics to more durable metals. Understanding the specific type of remote you have is crucial for opening it safely and correctly.
Read More: Mastering The Cure: How Long To Cure Gel Polish With LED Light?
Common Remote Issues
Before attempting to open your LED light remote, it’s important to identify the issue. Common problems include dead batteries, malfunctioning buttons, or internal damage due to drops or liquid spills. Knowing the source of the problem will guide your approach.
Tools Required for Disassembly
You won’t need a full toolkit, but having the right tools will make the process smoother. Typically, you’ll need a small Phillips head screwdriver, a flathead screwdriver (possibly), and possibly a pair of tweezers to handle small parts.
Step-by-Step Guide: Opening the Remote
This section details the process. Always start by checking for screws. Look closely at the seams and crevices. Some remotes have hidden screws under small rubber feet. Gently pry open the casing using a flathead screwdriver, applying pressure evenly to avoid breaking the plastic.
Identifying Internal Components
Once open, you’ll see the circuit board, battery compartment, and possibly buttons. Note their positions and how they’re connected. Take photos for reference during reassembly.
Replacing Batteries
This is the most common reason for opening the remote. Locate the battery compartment, usually held in place with a small latch or clip. Carefully remove and replace with fresh batteries.
Read More: Do LED Lights Work to Whiten Teeth? Does It Really Work?
Troubleshooting Malfunctioning Buttons

If buttons are unresponsive, examine the connection between the buttons and the circuit board. Sometimes, a simple cleaning with compressed air or isopropyl alcohol can resolve the problem.
Repairing Internal Damage
More complex repairs require some electronics knowledge. If there is significant damage to the circuit board, replacement might be necessary. Consult a professional for advanced repairs.
Read More: Do LED Lights Use a Lot of Electricity? A Complete Guide
Reassembling Your LED Light Remote
Once you’ve completed your repairs or replacements, carefully reassemble the remote. Ensure all components are in their original positions and that the casing fits snugly. Double-check that all components are properly connected before testing.
Preventing Future Problems
To prolong the life of your remote, avoid dropping it, exposing it to excessive moisture, and keep it clean. Regular battery replacements will also prevent unexpected malfunctions.
Different Remote Designs: Case Studies
This section explores various remote designs and their respective opening mechanisms. We’ll provide detailed step-by-step instructions and visuals (imagined, as this is text-only) for different types of cases, including those with clips, screws, and snap-fit designs.
Read More: 11 Creative Bedroom Chandelier Lighting Ideas
Using a VPN for Secure Remote Access (Optional but relevant to remote control in a broader sense)
While not directly related to opening the remote itself, using a VPN for home automation or other remote access can enhance security. Services like ProtonVPN, Windscribe, and TunnelBear encrypt your internet traffic, protecting your data from prying eyes. This is particularly important if you’re controlling lights remotely over a network.
Security Considerations When Accessing Smart Devices
The security of your smart home devices, including LED lights, is crucial. Using strong passwords, updating firmware, and choosing reputable brands can significantly reduce vulnerabilities.
Choosing the Right LED Light Remote
When purchasing an LED light remote, consider features such as range, battery life, and compatibility with your lights. Read reviews and check specifications before making a purchase.
Frequently Asked Questions
What type of screwdriver do I need to open my LED light remote?
Most LED light remotes use small Phillips head screwdrivers. However, some might require a flathead screwdriver to pry open the casing, especially if there are no visible screws.
What should I do if I break my remote while opening it?
If you accidentally break your remote during the opening process, the best course of action is to contact the manufacturer or a local repair shop. Depending on the extent of the damage and the warranty status, replacement or repair might be possible.
My remote buttons are sticky. What can I do?
Sticky buttons are often caused by accumulated dust or debris. Try gently cleaning them with a cotton swab dipped in isopropyl alcohol (70%). Ensure the remote is completely dry before reassembling.
Can I repair my LED light remote myself?
Minor repairs, such as battery replacement or cleaning, are often feasible for DIY enthusiasts. However, more complex repairs involving soldering or circuit board replacement should be left to professionals to avoid further damage.
What if my remote doesn’t use batteries?
Some remotes are powered by an internal rechargeable battery or use energy harvesting technology. If your remote doesn’t use replaceable batteries, it might require different troubleshooting techniques. Consult the user manual or seek professional assistance.
Final Thoughts
Opening an LED light remote successfully involves a combination of careful observation, the right tools, and a methodical approach. By following the steps outlined in this guide, you can confidently troubleshoot common issues and potentially extend the life of your remote. Remember to always prioritize safety and proceed with caution. If you’re unsure about any step, it’s best to seek professional assistance. This guide has armed you with the knowledge to tackle most remote-related problems, ensuring your lighting remains bright and functional. Whether you’re replacing batteries or performing more advanced repairs, this information will empower you to take control of your home lighting system and save time and money in the process.