
Can You Cut LED Lights? A Comprehensive Guide
Cutting LED light is a common DIY project, but it’s crucial to understand the process to avoid damage or safety hazards. This guide explains everything you need to know about cutting LED light strips, including the types of strips, cutting techniques, and important safety precautions. We’ll cover the different components of LED strips, their applications,…
Cutting LED light is a common DIY project, but it’s crucial to understand the process to avoid damage or safety hazards. This guide explains everything you need to know about cutting LED light strips, including the types of strips, cutting techniques, and important safety precautions. We’ll cover the different components of LED strips, their applications, and how to properly solder connections for a clean and functional result. Whether you’re a beginner or experienced DIY enthusiast, this guide will equip you with the knowledge to tackle your next LED lighting project with confidence.
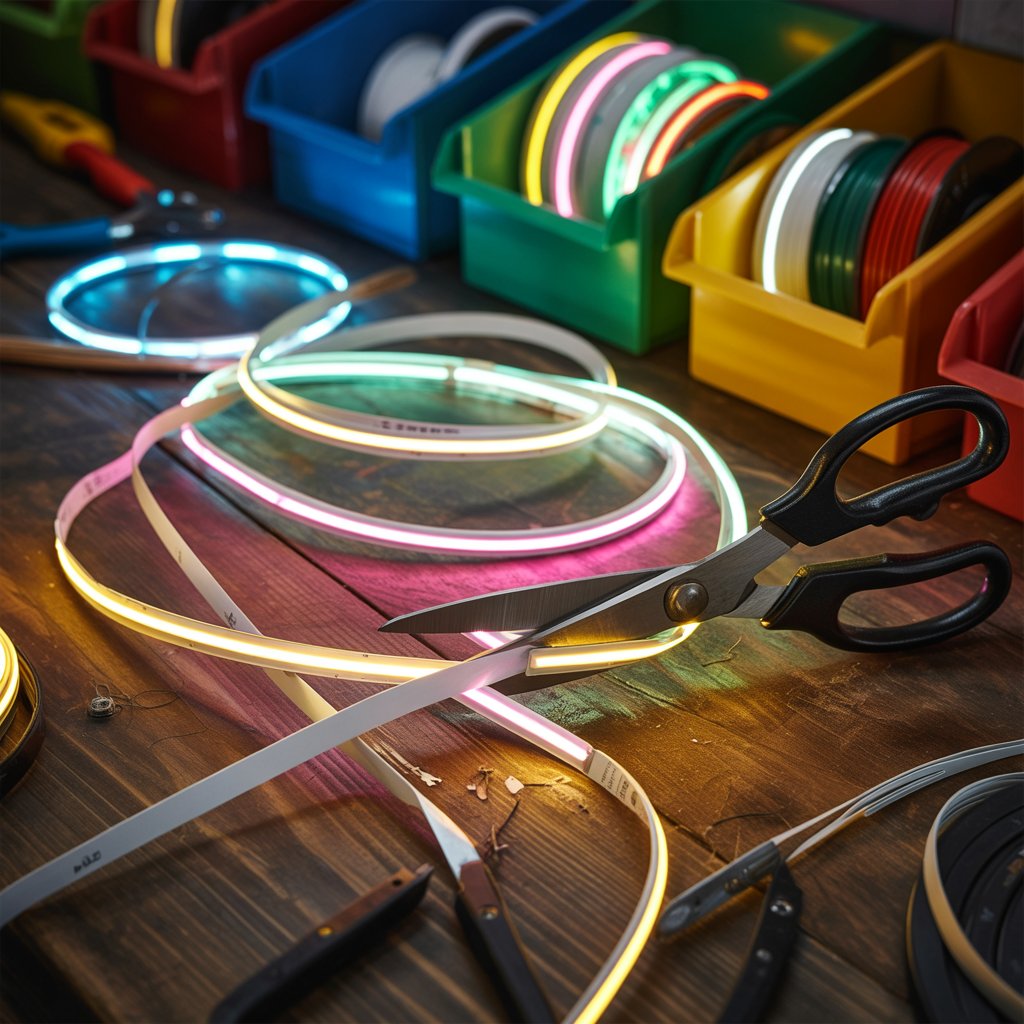
Can You Cut LED Lights? Yes, you can cut LED lights, but only at the marked cutting lines, usually located every few inches. Use sharp scissors and ensure the power is off before cutting. Afterward, reconnect the strips with connectors or soldering to maintain functionality and safety.
LED light strips are flexible circuits containing multiple small LED lights. They are popular for their versatility, energy efficiency, and ease of installation. However, cutting them incorrectly can lead to malfunctioning or even dangerous situations.
-
- Non-waterproof: These are more affordable and suitable for indoor use.
- Waterproof
(IP65 or higher):
Protected against dust and water splashes, ideal for outdoor or humid environments. - Single-color: Emit a single color of light.
- RGB (Red, Green, Blue): Allow for a wide range of color options through the mixing of red, green, and blue LEDs.
- Addressable RGB (WS2812B, etc.): Each LED can be individually controlled, enabling complex lighting effects and patterns.
Can You Cut LED Lights?
Cutting Points and Markings

Most LED strips have clearly marked cutting points indicated by small scissors or dashed lines. These are crucial for cutting without damaging the circuit. Cutting outside these markings could lead to irreparable damage.
Read More: How Long Do LED Lights Last? A Complete Guide & Exact Answer
Identifying Cutting Points
Carefully inspect the strip to locate the cutting lines. They’re usually printed on the PCB (printed circuit board) itself. Ignoring these lines can result in segments not lighting up or the entire strip failing to work.
Tools and Materials Needed
Cutting LED light strips requires precision and the right tools. Improper tools can lead to damaged components and potentially hazardous situations. The necessary tools are minimal, but they are critical for a successful and safe outcome.
Essential Tools
-
- Sharp scissors or a wire cutter (ensure they are clean and sharp for a clean cut)
- Soldering iron (for soldering connections if needed)
- Solder (rosin core recommended)
- Electrical tape or heat-shrink tubing (to insulate connections)
- Multimeter (to test the circuit after cutting)
The Cutting Process: Step-by-Step
Cutting LED strips is a delicate process requiring precision and careful attention. Following these steps ensures a clean cut and prevents damaging the components.
Step-by-Step Instructions
-
- Measure the desired length of the strip and identify the designated cutting point.
- Use a sharp pair of scissors or a wire cutter to carefully cut the strip at the designated point. Avoid applying excessive pressure or force.
- Inspect the cut to make sure it is clean and there are no loose wires or damaged components.
- If extending the strip, solder the new section to the existing one, ensuring proper insulation.
- Test the LED strip with a power supply to verify functionality after cutting and connection.
Read More: Do LED Lights Get Hot? The Scientific Answer For You
Soldering Connections: A Detailed Guide
If you need to connect cut sections of the LED strip, soldering is essential for a reliable and lasting connection. This process should be done carefully.
Preparing for Soldering
-
- Prepare your soldering iron to the correct temperature. Too hot can damage the components, and too cool won’t melt the solder efficiently.
- Clean the soldering iron tip with a damp sponge or wire brush before applying solder.
- Apply a small amount of solder to the connection points, ensuring it flows evenly and creates a strong bond.
Working with Different Types of LED Strips

The process of cutting and connecting may vary slightly depending on the type of LED strip you are using.
Single-Color vs. RGB/Addressable RGB
Cutting single-color strips is generally straightforward. RGB and addressable RGB strips require more attention, ensuring you don’t damage the delicate circuitry responsible for color mixing and individual LED control. Addressable RGB strips often need careful soldering to preserve the data signal.
Safety Precautions: Protecting Yourself and Your Work
Working with electricity always presents a risk. Following these safety precautions protects against accidents.
Essential Safety Tips
-
- Always disconnect the power supply before cutting or soldering.
- Use insulated tools and work in a well-ventilated area.
- Avoid touching the bare copper traces on the circuit board.
- Use eye protection to prevent accidental injury from solder splatter.
Read More: Can You Cut LED Strip Lights?: A Comprehensive Guide
Troubleshooting Common Problems
Encountering issues after cutting? These tips help diagnose and resolve problems.
Diagnosing and Fixing Issues
-
- If a section doesn’t light up, check the connections for loose wires or cold solder joints.
- If the entire strip fails, inspect for damage to the power supply or circuit board.
- Use a multimeter to test the voltage and continuity of the circuit.
Choosing the Right LED Light Strip for Your Project
Selecting the appropriate LED strip for your needs is crucial for a successful outcome. Consider your project’s demands and environment.
Matching the Strip to Your Needs
-
- Consider the length needed and whether you’ll need to cut it.
- Choose the appropriate waterproof rating for your project’s location.
- Select the color or RGB capabilities based on your lighting requirements.
Extending LED Strips: Connecting Multiple Segments
Extending the reach of your lighting requires precise connection of multiple segments.
Connecting Multiple Strips
Follow the manufacturer’s instructions carefully when extending LED strips. Pay particular attention to soldering techniques and ensuring proper insulation of connections to avoid shorts.
Advanced Techniques: Customizing LED Strip Lighting
For more advanced projects, these techniques enable greater control and personalization.
Customizable Lighting Effects
Addressable RGB strips offer unique opportunities for customized lighting effects. Learning to program these strips using software like FastLED allows for dynamic lighting displays that react to sound or other sensors.
Comparing Different LED Strip Brands and Models
Different brands offer varying quality and features. It is important to research and select a reputable brand with reliable products.
Brand Comparison
Research reviews and compare specifications (brightness, color accuracy, lifespan) before selecting a specific brand and model of LED strip. Consider warranty and customer support as part of your selection process.
LED Strip Power Supply Considerations
The power supply is crucial for the proper functioning of your LED lights. An inadequate power supply can lead to dimming or malfunction.
Power Supply Matching
Always use a power supply with sufficient amperage (A) and voltage (V) to match the requirements of your LED strip. Using a power supply that doesn’t meet these specifications can damage your LED strip or even cause a fire.
LED Strip Applications: Where to Use Them
LED strips’ versatility makes them suitable for various applications both indoors and outdoors.
Diverse Application Scenarios
-
- Accent lighting for furniture or walls
- Under-cabinet lighting in kitchens
- Ambient lighting for entertainment spaces
- Decorative lighting for holidays or events
Maintaining and Repairing LED Light Strips
Proper care extends the life and performance of your LED strips.
Care and Maintenance Tips
Handle LED strips gently to avoid damage. Regularly inspect connections for loose wires. If a section stops working, try troubleshooting the connections before replacing the entire strip.
Frequently Asked Questions
What are the most common mistakes when cutting LED strips?
The most common mistakes include cutting outside the designated cutting points, damaging the copper traces on the PCB, and not properly insulating the soldered connections. These mistakes can lead to malfunctioning lights or even short circuits.
Can I cut any LED strip at any point?
No. Only cut LED strips at the designated cutting points marked on the circuit board. Cutting elsewhere will damage the circuitry and render the strip unusable.
How do I know if my LED strip is waterproof?
Look for an IP rating (Ingress Protection rating) on the packaging or the strip itself. An IP rating of 65 or higher indicates sufficient protection against water and dust for outdoor use.
What happens if I cut an LED strip incorrectly?
Incorrect cutting can lead to sections of the strip not lighting up, flickering, or complete failure. In worst cases, it could cause a short circuit, leading to electrical hazards.
Can I use regular household scissors to cut LED strips?
While you can use regular scissors, sharp, dedicated wire cutters or small flush-cutters provide a cleaner cut, reducing the risk of damaging the delicate circuitry of the LED strip. Dull scissors will crush the PCB and damage the connections.
Final Thoughts
Cutting LED light strips effectively requires precision and knowledge of the process. By following the steps outlined in this guide and exercising caution, you can successfully cut and connect LED strips for various applications. Remember to always prioritize safety by disconnecting the power before working on any electrical component. With practice and attention to detail, you’ll master this valuable DIY skill and transform your lighting projects with ease. Whether you’re building a custom lighting system or simply need to shorten an existing strip, the information provided here will help you succeed. Start your next project today and enjoy the endless possibilities of LED lighting!