
Can You Cut LED Strip Lights?: A Comprehensive Guide
LED strip lights offer a versatile and affordable way to illuminate any space. But what happens when you need a shorter length? Can you cut LED strip lights? This comprehensive guide will explore everything you need to know about cutting LED strips, from the basics to advanced techniques, ensuring you can tackle this task with…
LED strip lights offer a versatile and affordable way to illuminate any space. But what happens when you need a shorter length? Can you cut LED strip lights? This comprehensive guide will explore everything you need to know about cutting LED strips, from the basics to advanced techniques, ensuring you can tackle this task with confidence. We’ll cover the types of LED strips, the tools you’ll need, safety precautions, and troubleshooting common problems. By the end, you’ll be a pro at customizing your lighting projects.
LED strip lights come in various types, each with its own characteristics. The most common are 12V and 24V strips. Understanding the voltage is crucial, as incorrect voltage can damage the strip. There are also variations in the LEDs themselves – some offer warm white light,
others cool white, and many offer RGB color-changing capabilities. The density of LEDs (LEDs per meter) also affects brightness and the overall look. Consider your project requirements before making your purchase.
Can You Cut LED Strip Lights?
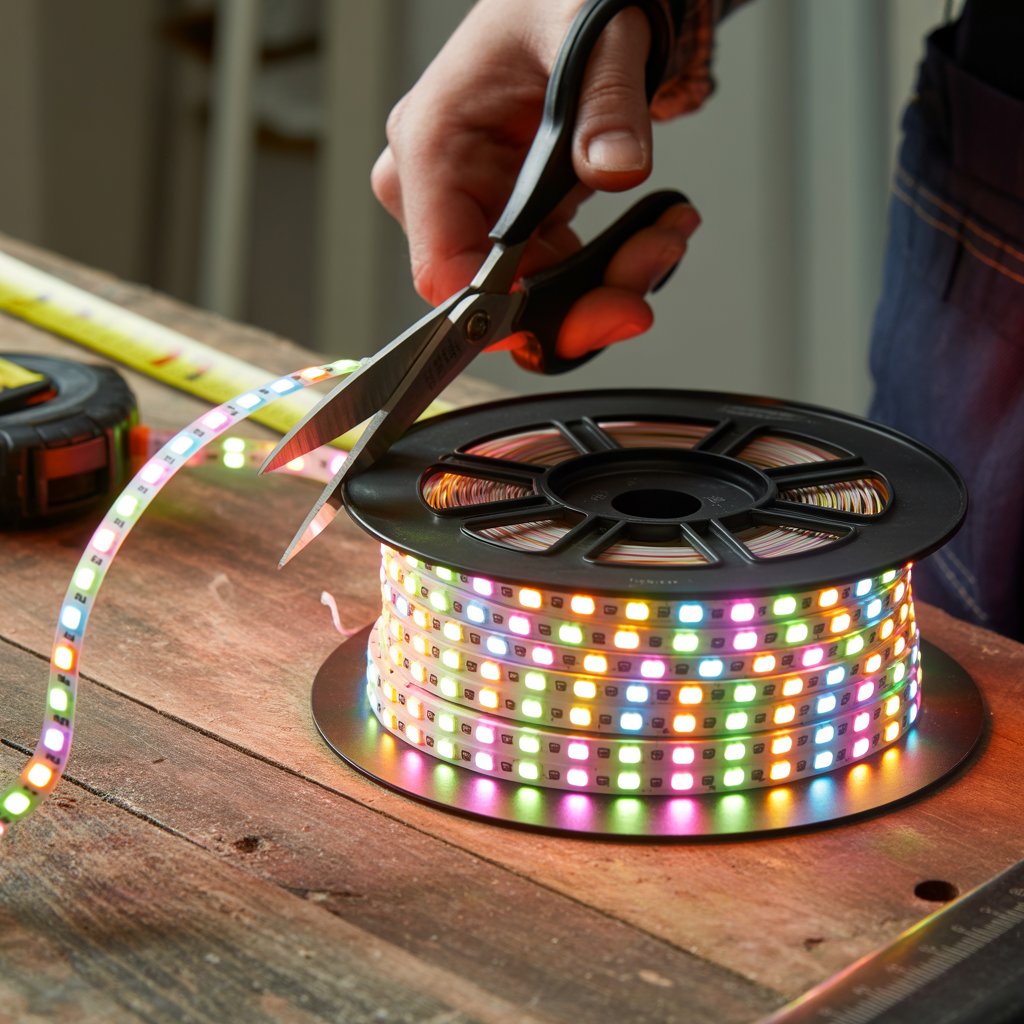
Yes, you can cut LED strip lights, but only at the marked cut lines—usually located every few inches. Cutting elsewhere may damage the circuit. Always use sharp scissors and ensure the power is off before cutting. Reseal or reconnect the strip using compatible connectors or soldering.
Why Cut LED Strip Lights?
Customization and Flexibility
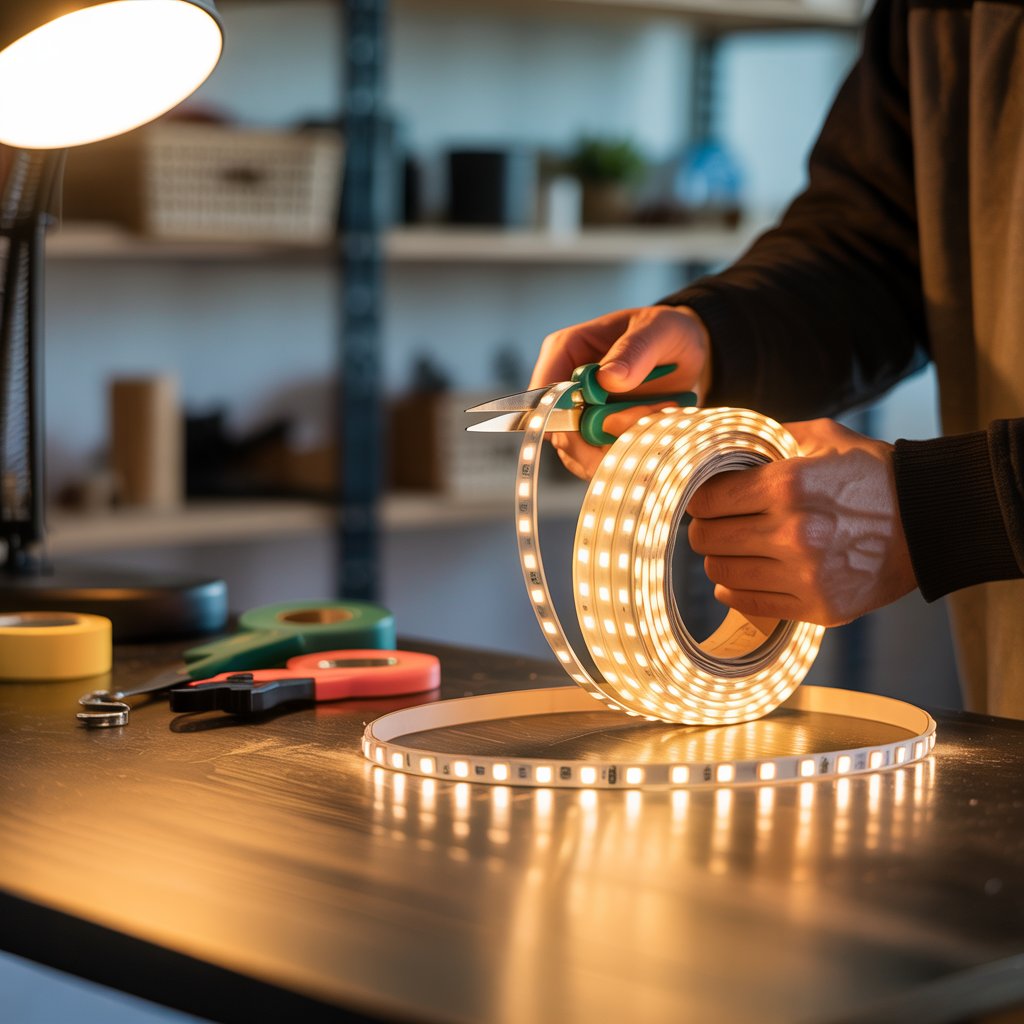
One of the biggest advantages of LED strip lights is their customizability. You can easily cut them to fit any space, allowing you to create unique lighting solutions for furniture, shelves, under cabinets, or even behind a TV. This flexibility is a key factor in their popularity for DIY projects.
Read More: How Many Can Lights for a 12×12 Room? Right Numbers For You
Identifying Cuttable Sections
Cut Marks and Indicators
Almost all LED strip lights have designated cut marks. These are usually indicated by small scissor icons or lines printed on the circuit board, every few centimeters. Cutting outside these markers can damage the circuitry and render the section unusable. Always carefully examine your strip lights for these indicators before attempting to cut.
Tools Needed for Cutting
Sharp Scissors or Cutter
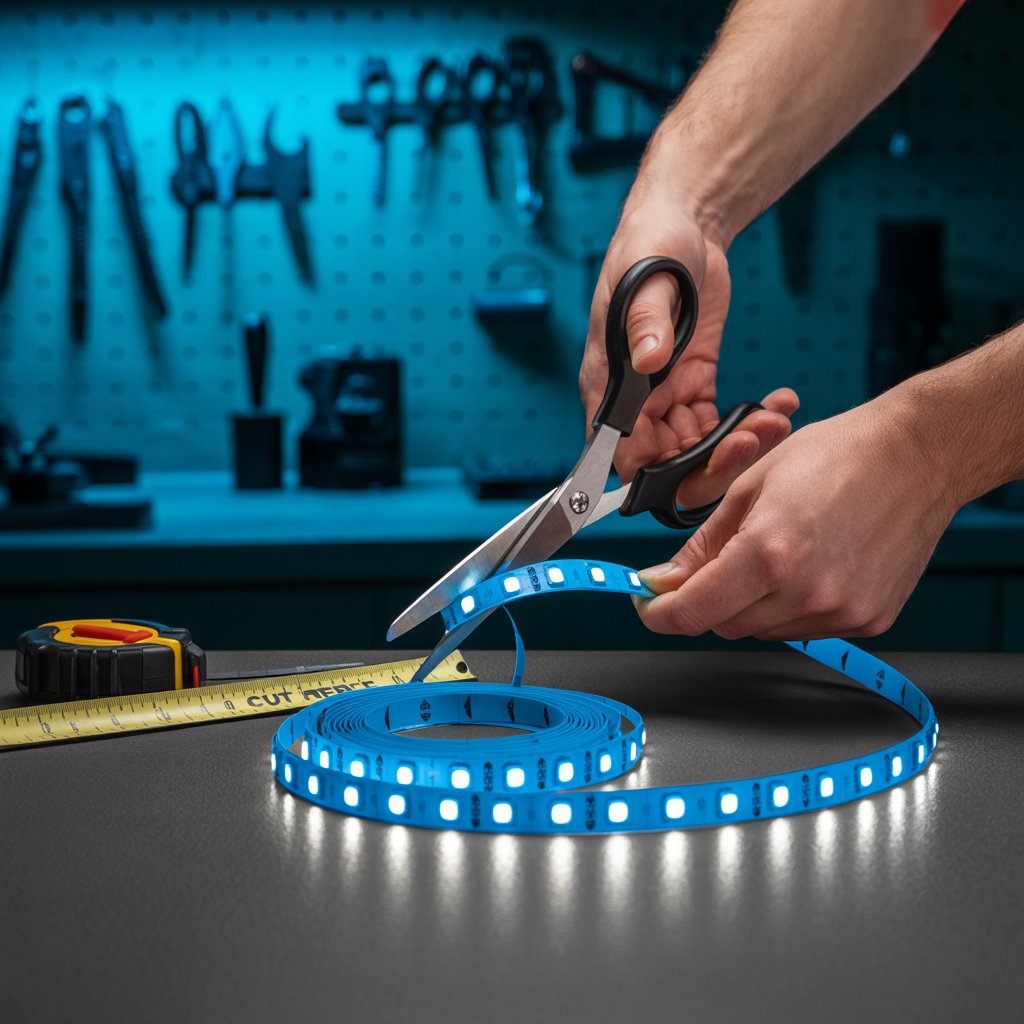
You’ll need a pair of sharp scissors or a small, sharp utility knife. Dull tools can crush or damage the copper traces on the circuit board, causing the strip to malfunction. A clean, precise cut is key. Consider using a cutting mat to protect your work surface.
The Cutting Process
Precise Cutting Techniques
Place the strip light on a flat, stable surface. Align your scissors or cutter with the designated cut mark. Apply firm, even pressure to make a clean cut. Avoid jagged or uneven cuts, which can negatively impact the functionality or aesthetics of the strip. Practice on a scrap piece of strip if you’re unsure.
Connecting Cut Sections
Soldering and Connectors
After cutting, you’ll typically need to connect the cut ends to a power supply. This often involves soldering, which requires a soldering iron, solder, and flux. Alternatively, many LED strip lights come with pre-made connectors that simplify the process. Use appropriate wire gauges and follow the manufacturer’s instructions carefully. Improper connections can lead to shorts or fires.
Read More: Lighting Your Space: How Many Lumens Do You Need to Light a Room?
Safety Precautions
Handling Precautions
LED strip lights operate on low voltage, but caution is still necessary. Always disconnect the power supply before handling or cutting the strip lights. Avoid touching the exposed copper traces on the cut ends to prevent electrical shocks. Wear appropriate eye protection to avoid getting debris in your eyes.
Troubleshooting Common Problems
Common Issues and Solutions
One common problem after cutting is a section that doesn’t light up. This is often due to incorrect soldering or damaged traces. Carefully inspect your work and ensure proper connections. If the issue persists, you may need to replace the affected section. Double-check the polarity of your connections (positive and negative). Incorrect polarity will prevent the strip from working.
Read More: How Many Pot Lights in a Living Room: Determining The Perfect Number
Different Types of LED Strip Lights and Their Cuttability
Variations in Design and Cuttability
Not all LED strip lights are created equal. Some are designed to be easily cut and connected, while others are more challenging. Some are more rigid, making them easier to cut in a straight line. Others are flexible, requiring more careful handling during the cutting process. Always refer to the manufacturer’s instructions for specific guidance.
Using Waterproof LED Strip Lights
Considerations for Waterproof Strips
Cutting waterproof LED strip lights requires similar techniques, but extra care is needed to maintain the waterproof seal. You’ll need to carefully seal the cut ends with sealant to prevent moisture damage. This is particularly important for outdoor applications. Use silicone sealant designed for electronics to ensure a durable and waterproof connection.
Comparing LED Strip Light Brands
Features and Cuttability Across Brands
Many reputable brands offer high-quality LED strip lights with clear cut marks and easy-to-use connectors. Research brands such as Philips Hue, LIFX, and others to find a product suitable for your needs and experience level. Read customer reviews to get a better understanding of the cuttability and ease of use.
Read More: Transform Your Space: How to Improve Lighting in a Room?
Choosing the Right LED Strip Lights for Your Project
Factors to Consider Before Purchasing
Before you buy, consider the following: the length you need (and how much you might need to cut), the voltage (12V or 24V), the color temperature (warm white, cool white, RGB), the brightness (lumens per meter), the type of adhesive (self-adhesive or requiring additional adhesive), and whether you need a waterproof version.
Cost-Effective Lighting Solutions with LED Strip Lights
Advantages of LED Strip Lights
LED strip lights offer a cost-effective lighting solution compared to other forms of lighting. They are energy-efficient, lasting longer and consuming less energy than traditional incandescent bulbs. Their versatility and customizability add to their overall value. Cutting and customizing your own strips can further reduce the overall cost.
Installing Your Cut LED Strip Lights
Step-by-Step Installation Guide
After cutting and connecting your LED strip lights, carefully plan your installation. Clean the surface you’ll be adhering the strip to, ensuring it’s free from dust or debris. Peel the backing off the adhesive and press the strip firmly against the surface. Ensure the adhesive makes good contact along the entire length of the strip for a strong, secure hold.
Maintaining and Troubleshooting Your LED Strip Lights
Longer Lifespan and Maintenance Tips
Proper installation and maintenance can significantly extend the lifespan of your LED strip lights. Avoid excessive bending or flexing the strips, as this can damage the internal components. Regularly check the connections and replace any damaged sections as needed. Avoid using harsh cleaning agents, using a slightly damp cloth instead.
Frequently Asked Questions
What happens if I cut an LED strip in the wrong place?
Cutting outside the designated cut marks can damage the circuit board, leading to sections of the strip not lighting up or even causing the entire strip to malfunction. Always follow the manufacturer’s instructions and cut only at the marked locations.
Can I connect different LED strip lights together?
Connecting different LED strip lights together is possible, but it requires careful consideration. Ensure they have the same voltage and are compatible with each other. Incorrect connections can lead to damage or fire. Consult the manufacturer’s instructions for each strip before attempting to connect them.
How do I choose the right power supply for my cut LED strips?
The power supply must match the voltage of the LED strip (12V or 24V) and have sufficient amperage to power the total length of the strips. An underpowered supply will result in dim lighting or damage to the strips. Overpowering is generally not a problem but is wasteful.
What type of sealant should I use for waterproof LED strips?
For waterproof LED strips, use silicone sealant specifically designed for electronic applications. This sealant will create a durable and watertight seal around the cut ends, protecting them from moisture damage.
Are there any specific tools I absolutely need to cut LED strips?
While sharp scissors can work, a small, sharp utility knife provides more control for precise cutting. Additionally, a cutting mat protects your work surface. For soldering connectors, you will need a soldering iron, solder, and flux. Having pliers will help keep the wires neat and secure.
Final Thoughts
Cutting LED strip lights offers a fantastic way to customize your lighting projects and create unique, personalized illumination. By following the steps outlined in this guide and paying attention to the safety precautions, you can easily cut and connect LED strips to suit your needs. Remember to always check the manufacturer’s instructions, identify the cut points, and use the appropriate tools for a clean, efficient cut. With a little patience and attention to detail, you can transform any space with the beauty and flexibility of customized LED lighting. Now get out there and brighten your world!