
Can You Fix Short LED Lights? Straight Answer & Solution
Can you fix short LED lights? Yes, you can fix short LED lights by checking for loose connections, replacing faulty LEDs or resistors, and repairing damaged wires. Use a multimeter to find the issue. If the LED strip is severely damaged or segments are non-replaceable, it may be better to replace the strip. Before diving…
Can you fix short LED lights? Yes, you can fix short LED lights by checking for loose connections, replacing faulty LEDs or resistors, and repairing damaged wires. Use a multimeter to find the issue. If the LED strip is severely damaged or segments are non-replaceable, it may be better to replace the strip.
Before diving into fixes, let’s understand the basics. LED (Light Emitting Diode) lights are known for their energy efficiency and longevity. However, they’re not immune to malfunctions. A short circuit occurs when an unintended path allows electricity to flow outside the intended circuit, often causing overheating and failure.
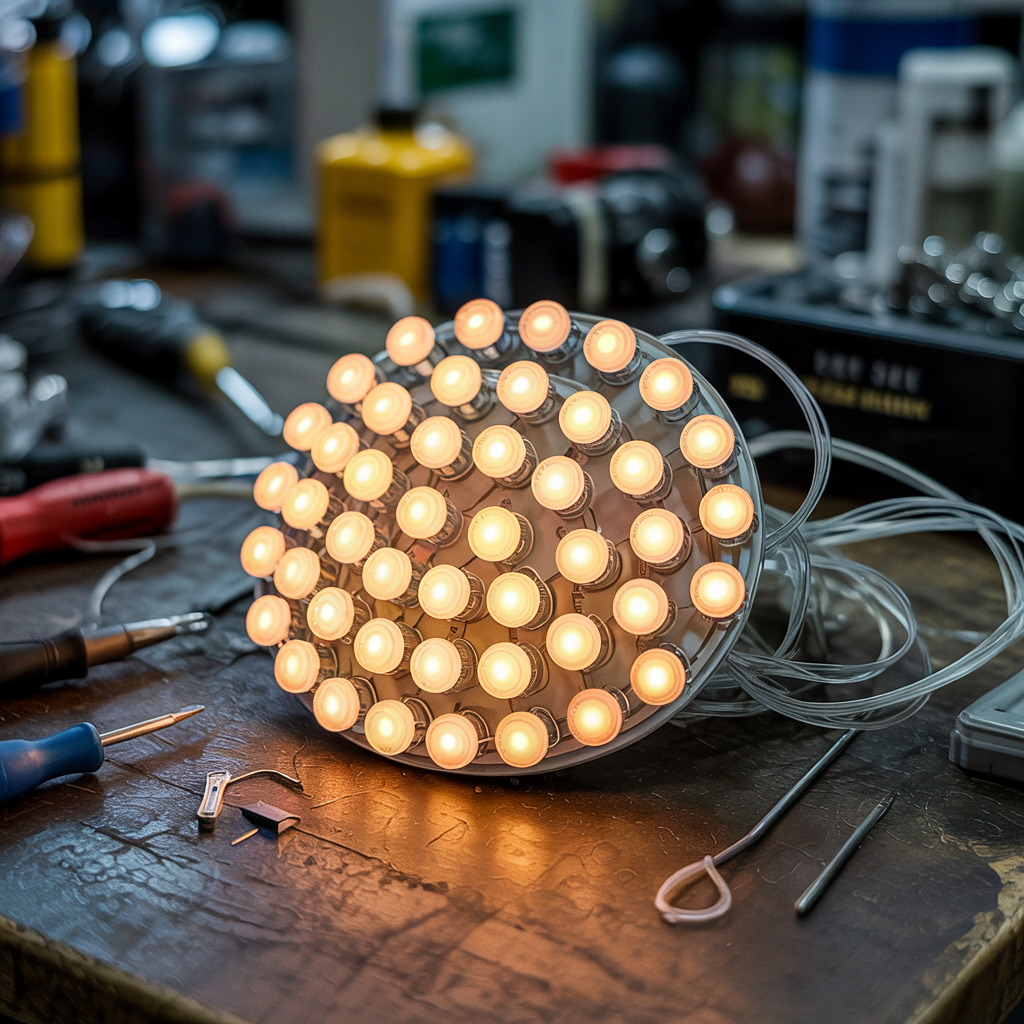
Can You Fix Short LED Lights?
Common Causes of Short Circuits in LED Lights
Several factors can lead to short circuits in LED lights. These include:
-
- Damaged Wiring: Frayed, loose, or improperly insulated wires are prime culprits.
- Moisture Damage: Water intrusion can cause corrosion and short circuits.
- Physical Damage: Impacts or drops can damage internal components.
- Manufacturing Defects: Faulty components from the factory can lead to premature failure.
- Overvoltage: Supplying more voltage than the LED is designed for can cause damage.
Read More: 15 Excellent Coffered Ceiling Lighting Ideas That You Should Not Miss
Identifying a Short Circuit in Your LED Light
Symptoms of a short circuit vary but commonly include:
-
- Complete Failure: The light doesn’t turn on at all.
- Flickering or Dimming: Intermittent operation suggests a potential issue.
- Overheating: Excessive heat around the fixture or wires indicates a problem.
- Burning Smell: A distinct burning odor points to a serious electrical fault.
Safety Precautions: Working with Electricity
Before attempting any repairs, prioritize safety. Always turn off the power at the breaker box before working on electrical components. Use insulated tools and avoid contact with exposed wires. If you’re unsure, consult a qualified electrician.
Visual Inspection: The First Step
A thorough visual inspection is crucial. Carefully examine the wiring, LED components, and the fixture itself for any signs of damage, such as broken wires, loose connections, or burn marks.
Testing for Continuity: Identifying Faulty Wiring
Use a multimeter to test the continuity of wires and components. A multimeter measures electrical resistance. A low resistance reading indicates a short circuit, while an infinite reading suggests a broken wire.
Replacing Damaged Wires: A Simple Repair
If you identify damaged wires, carefully cut away the damaged section and use appropriate wire connectors to splice in new wire. Ensure proper insulation to prevent future shorts.
Replacing Faulty LED Components
If the problem lies within the LED module itself, you may need to replace the entire module. These are often relatively inexpensive and readily available online or at hardware stores.
Read More: LED Lights And Fire Risk: Can LED Lights Catch on Fire?
Advanced Troubleshooting: Using a Multimeter Effectively
A multimeter is invaluable for diagnosing electrical problems. Learn how to use its various functions to measure voltage, current, and resistance accurately. Understanding these measurements will significantly improve your troubleshooting skills.
Understanding Voltage and Current in LED Circuits
LED lights operate on specific voltage and current levels. Providing too much voltage or current can damage them, leading to short circuits. Understanding these parameters is vital for safe and effective repair.
Common Mistakes to Avoid When Fixing LED Lights
Avoid common mistakes, such as working with live electricity, incorrect wire connections, and neglecting safety precautions. Improper repairs can lead to fire hazards and electric shock.
Comparing LED Light Repair Costs to Replacement
Assess the cost of repairing your LED light versus purchasing a replacement. In some cases, repair is more cost-effective, while in others, replacement may be a more practical solution.
The Importance of Using Quality Replacement Parts
Using low-quality replacement parts can lead to shorter lifespans and increased risk of failures. Invest in reputable brands to ensure the longevity of your repairs.
When to Call a Professional
While many LED light repairs are manageable for DIY enthusiasts, some situations require professional help. If you’re uncomfortable working with electricity or if the problem is complex, it’s best to call a qualified electrician.
Maintaining Your LED Lights to Prevent Future Problems
Regular maintenance, such as inspecting wiring and ensuring proper ventilation, can help prevent future short circuits and extend the life of your LED lights.
Frequently Asked Questions
What are the most common signs of a short circuit in an LED light?
The most common signs include complete failure (no light), flickering or dimming, excessive heat, and a burning smell. These indicate a problem that needs immediate attention.
How do I safely test for a short circuit?
Always disconnect the power supply before testing. Use a multimeter to check for continuity in the wiring. A low resistance reading (close to zero ohms) points towards a short circuit. Never touch live wires.
Can I fix a short circuit in an LED strip light?
Depending on the severity and location of the short, fixing an LED strip light is possible. Often, it involves identifying and replacing a faulty segment of the strip. If the entire strip is failing, replacement might be a more cost-effective option.
What tools do I need to repair a short-circuited LED light?
You’ll likely need a screwdriver, wire strippers, wire connectors, electrical tape, and a multimeter. Having a small set of pliers is always helpful for working with wires.
Why is it important to use the correct voltage and amperage for LEDs?
LEDs are sensitive to voltage and current. Applying too much voltage or current can overheat them and lead to a short circuit, resulting in premature failure. Always follow the manufacturer’s specifications.
Final Thoughts
Fixing short-circuited LED lights is often achievable with basic electrical knowledge and the right tools. By following the safety precautions outlined above and conducting a thorough inspection, you can identify the cause of the problem and implement the appropriate repair. Remember that safety is paramount, and if you’re ever unsure about any aspect of the repair, it’s always best to seek professional help. Learning to troubleshoot these issues can save you time and money in the long run, and empower you to maintain your lighting effectively. If you’ve successfully repaired your LED light, consider sharing your experience with others online; you might help someone else avoid replacing a perfectly fixable light. Remember to always prioritize safety when working with electricity.