
Installing A Ceiling Light: How to Add a Ceiling Light in a Room?
How to add a ceiling light in a room? Adding a new light fixture to your ceiling can dramatically improve the ambiance and functionality of a room. This guide will walk you through the entire process, from planning and preparation to installation and finishing touches, ensuring you achieve a bright and beautifully lit space. We’ll…
How to add a ceiling light in a room? Adding a new light fixture to your ceiling can dramatically improve the ambiance and functionality of a room. This guide will walk you through the entire process, from planning and preparation to installation and finishing touches, ensuring you achieve a bright and beautifully lit space. We’ll cover everything from choosing the right fixture to safely connecting the wiring, making the project manageable for both beginners and experienced DIYers. You’ll learn how to assess your existing wiring, select the appropriate light fixture, and troubleshoot common problems. Let’s get started!
Before even touching a wire, it’s crucial to understand your home’s electrical system. This involves identifying the location of your circuit breaker box and learning how to safely turn off power to the specific circuit that will power your new light fixture. This step is paramount for your safety and
preventing electrical shocks. Always turn off the power at the breaker before starting any electrical work. Never rely on just turning off the light switch.
How to Add a Ceiling Light in a Room?
Turn off power at the breaker. Mark the ceiling spot. Cut a hole for the electrical box. Run wiring from a power source. Mount the electrical box. Connect wires: black to black, white to white, ground to ground. Secure the fixture, attach the cover, and restore power to test.
Identifying Your Circuit Breaker
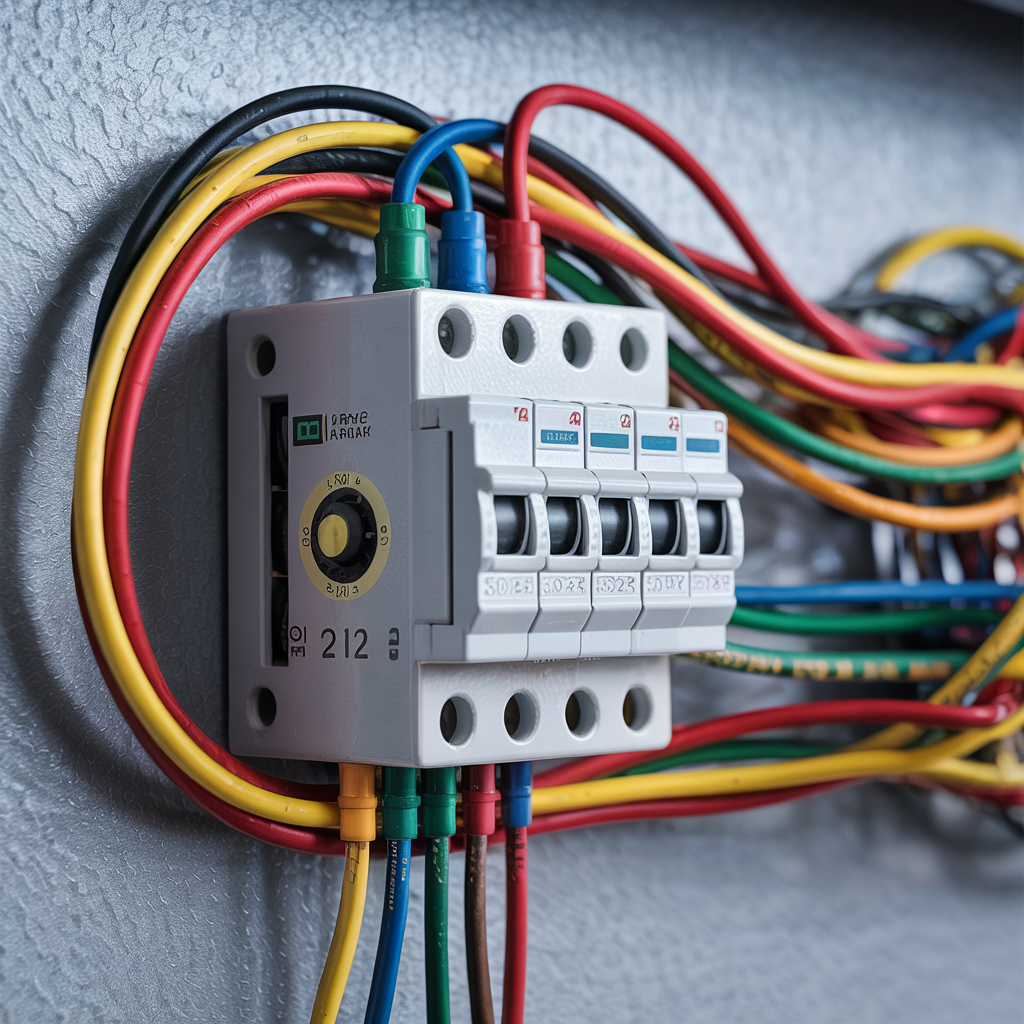
Your circuit breaker box is usually found in a garage, hallway closet, or utility room. It’s a metal box containing a series of switches that control the power to different circuits in your home. Locate your box, open it carefully, and identify the breaker controlling the circuit where you’ll be installing the light. This is often labelled, but if not, you can use a voltage tester to verify.
Read More: 15 Brilliant Kitchen Ceiling Lights Flush Mount to Brighten Every Meal
Safety Precautions
* Always turn off the power: Before any work begins, turn off the breaker controlling the circuit.
* Use a voltage tester: Before touching any wires, use a non-contact voltage tester to confirm the power is off.
* Double-check: Ensure the power is off again before starting work.
* Work with a partner: If you’re uncomfortable working alone, have a friend or family member assist.
Choosing the Right Ceiling Light Fixture
The right ceiling light fixture will depend on several factors, including the room’s size, style, and your personal preferences. Consider the following:
Size and Style
A larger room typically needs a larger light fixture. Consider the overall style of your room and choose a fixture that complements it. Modern rooms may suit sleek, minimalist designs, while traditional rooms might benefit from more ornate chandeliers.
Lighting Type
Different light bulbs offer varying levels of brightness and color temperature (measured in Kelvin). A lower Kelvin value (e.g., 2700K) produces a warmer, more yellowish light, while a higher Kelvin value (e.g., 5000K) provides a cooler, bluer light. Consider the ambiance you want to create.
Fixture Type
There are many types of ceiling lights, including flush mounts (for low ceilings), semi-flush mounts (for medium ceilings), and pendant lights (for high ceilings). Consider your ceiling height and the overall design of your room when making your choice.
Read More: Wiring A Room: How to Wire a Room with Lights And Outlets?
Gathering Your Tools and Materials
Before beginning the installation, gather all necessary tools and materials. This will streamline the process and prevent delays.
Essential Tools
* Screwdriver (Phillips and flathead)
* Wire strippers/cutters
* Voltage tester
* Wire connectors (wire nuts)
* Electrical tape
* Level
* Ladder (if necessary)
Essential Materials
* New ceiling light fixture
* Electrical box (if needed)
* Mounting hardware (typically included with the fixture)
* Additional wiring (if needed)
Preparing the Existing Electrical Box
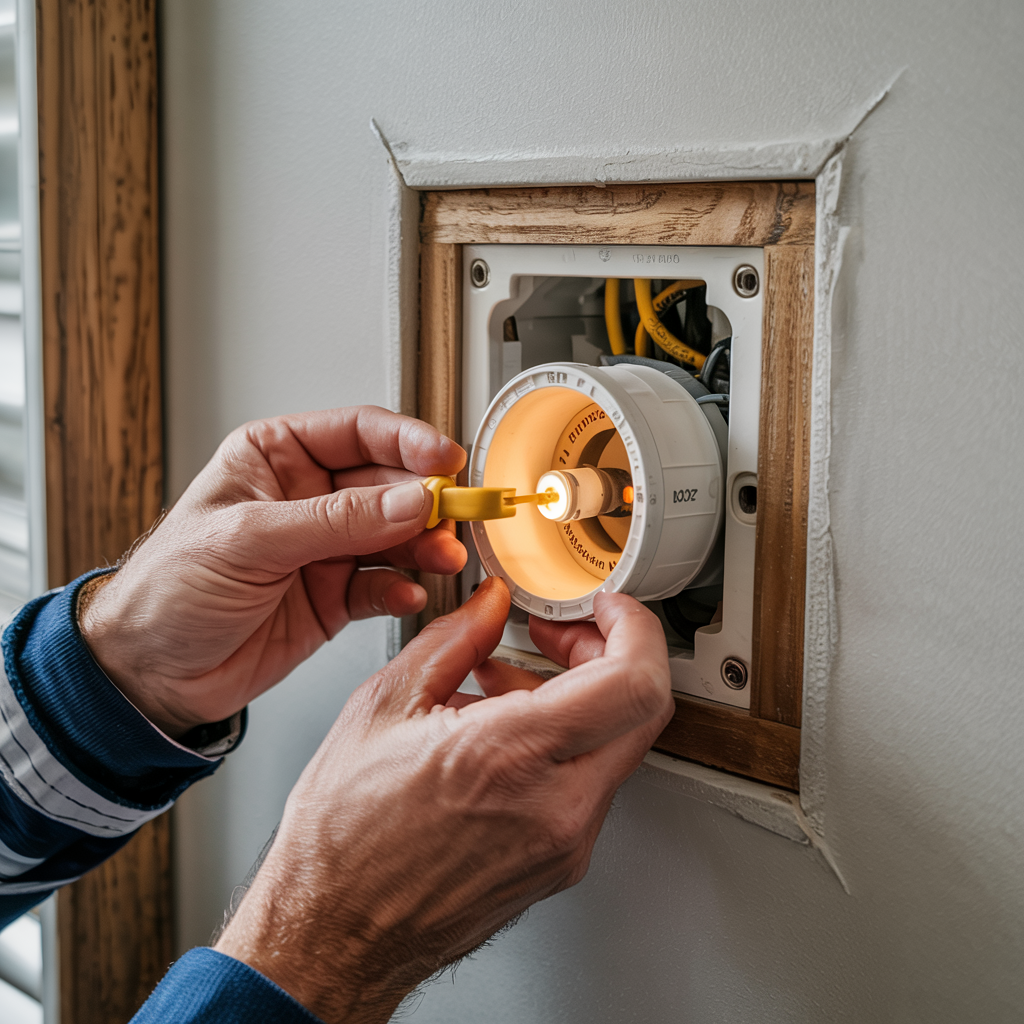
The existing electrical box is the foundation of your new light fixture installation. Ensure it is securely attached to the ceiling joist and in good condition.
Inspecting the Box
Check the electrical box for any damage or loose connections. If the box is damaged or loose, it must be repaired or replaced before proceeding. A loose or damaged box can be a significant safety hazard.
Securing the Box
Use appropriate screws or anchors to securely attach the electrical box to the ceiling joist. A securely mounted box is crucial for a safe and stable installation.
Read More: How Many Can Lights in a 20×20 Room: The Ultimate Guide To Can Lights
Disconnecting the Old Fixture (If Applicable)
If you’re replacing an existing light fixture, you’ll need to carefully disconnect it. Remember to always turn off the power at the breaker before doing so.
Removing the Fixture
Carefully remove the old light fixture, taking note of how the wiring is connected. Take pictures if needed to help you remember during the re-wiring process.
Disconnecting the Wiring
Carefully disconnect the wires from the old fixture. Take note of which wire is connected to which. It is helpful to label the wires before disconnecting them to avoid confusion later.
Connecting the New Fixture’s Wiring
With the old fixture removed and the power off, you can now connect the new fixture’s wiring. This is a crucial step, and accuracy is essential for safety and proper function.
Matching Wires
Connect the wires from your new fixture to the existing wires in the electrical box. Typically, you’ll have a black (hot), white (neutral), and ground wire. Connect black to black, white to white, and ground to ground. Use wire connectors (wire nuts) to securely join the wires. Ensure all connections are tight.
Securing the Fixture
Once the wires are connected, securely attach the new light fixture to the electrical box using the mounting hardware provided. Make sure the fixture is level and securely fastened.
Testing and Finishing Touches
After making all connections, it’s time to restore power and test your new light fixture.
Restoring Power
Turn the power back on at the breaker and carefully test the new light fixture. If the light doesn’t work, double-check all your connections.
Final Touches
Ensure the light fixture is properly mounted and aligned. Clean up any debris or loose wires. You can now enjoy your new beautifully lit room!
Troubleshooting Common Problems
Even with careful planning and execution, problems can arise during the installation process.
Light Fixture Not Working
If the light fixture doesn’t work, double-check all connections. Make sure the power is on at the breaker and that all wire connections are secure and correctly matched.
Loose Connections
Loose wire connections are a common source of problems. Ensure all wire nuts are tightened and the wires are securely connected. Use electrical tape to provide extra insulation if needed.
Benefits of Upgrading Your Ceiling Lighting
Upgrading your ceiling lighting offers numerous benefits, ranging from increased safety to improved aesthetics.
Improved Illumination
A new ceiling light can significantly improve the illumination of your room, making it brighter and more functional.
Enhanced Ambiance
The right light fixture can drastically enhance the ambiance of a room, creating a more welcoming and inviting atmosphere.
Increased Home Value
Modern and well-maintained lighting can increase the value of your home, making it more attractive to potential buyers.
Comparing Different Types of Ceiling Lights
Here’s a comparison table of different types of ceiling lights:
| Type of Ceiling Light | Best For | Lighting Style | Installation | Energy Efficiency | Design Variety |
|---|---|---|---|---|---|
| Flush Mount | Low ceilings, small rooms | Ambient, soft | Easy | High (LED options) | Moderate |
| Semi-Flush Mount | Medium ceilings | Ambient, slightly focused | Easy to Moderate | High (LED options) | Wide range |
| Chandeliers | Dining/living rooms, foyers | Decorative, ambient | Moderate to Complex | Medium to High | High |
| Pendant Lights | Kitchens, bedrooms, islands | Task, accent | Moderate | High (LED available) | High |
| Recessed Lights | Modern, minimalist spaces | Ambient, directional | Complex (requires ceiling cutting) | High | Low to Moderate |
| Track Lighting | Art or task-focused areas | Directional, adjustable | Moderate | High | Moderate |
| LED Panels | Offices, modern interiors | Uniform, bright | Moderate | Very High | Low to Moderate |
| Ceiling Fans with Lights | Bedrooms, living rooms | Ambient + air circulation | Moderate | Medium to High | Moderate |
Various types of ceiling lights are available, each with its own advantages and disadvantages.
Flush Mount vs. Semi-Flush Mount
Flush mounts sit close to the ceiling, ideal for low ceilings. Semi-flush mounts offer slightly more clearance.
Pendant Lights vs. Chandeliers
Pendant lights hang from the ceiling, ideal for high ceilings. Chandeliers are more elaborate and ornate.
Maintaining Your New Ceiling Light
Regular maintenance of your new ceiling light fixture can extend its lifespan and keep it looking its best.
Cleaning the Fixture
Dust and debris can accumulate on your light fixture. Regular cleaning will help maintain its appearance and prevent damage.
Checking for Loose Connections
Periodically check for loose connections to prevent potential problems and ensure safety.
Cost Considerations for Ceiling Light Installation
The cost of installing a ceiling light can vary depending on several factors.
Fixture Cost
Light fixtures range in price from budget-friendly options to high-end designs.
Labor Costs
If you hire an electrician, labor costs will be added to the overall expense.
Safety Tips for Ceiling Light Installation
Prioritize safety throughout the entire installation process.
Always Turn Off Power
Never work with electricity without first turning off the power at the breaker box.
Use Appropriate Tools
Using the correct tools will ensure a safe and efficient installation.
Ceiling Light Installation: A Step-by-Step Guide for Beginners
This simplified guide focuses on the basic steps for beginners.
Step 1: Turn Off the Power
Always turn off the power before beginning any electrical work.
Step 2: Prepare the Electrical Box
Ensure the box is securely mounted to the ceiling joist.
Frequently Asked Questions
What types of ceiling lights are available?
Many types exist, including flush mounts, semi-flush mounts, pendant lights, chandeliers, and recessed lights. The best choice depends on factors like ceiling height, room size, and personal preference.
How do I choose the right size light fixture?
Consider the room’s size. Larger rooms generally need larger fixtures. Also, consider the fixture’s style and how it complements the overall decor.
Do I need special tools for this project?
You’ll need basic tools like screwdrivers, wire strippers, a voltage tester, wire connectors, and electrical tape. A ladder may also be necessary depending on your ceiling height.
What if I’m not comfortable doing this myself?
Hiring a qualified electrician is always an option. They have the expertise and experience to handle the installation safely and efficiently.
How often should I clean my ceiling light?
Cleaning frequency depends on the environment and how much dust accumulates. Generally, cleaning once or twice a year is recommended.
Can I install a ceiling fan and light fixture combination?
Yes, combination fixtures are available, offering both lighting and cooling functions. However, installation is slightly more complex and may require more advanced knowledge.
Final Thoughts
Installing a new ceiling light can transform a room’s ambiance and functionality. By carefully following the steps outlined in this guide, you can successfully complete this project, enhancing both the beauty and practicality of your home. Remember, safety should always be your top priority. If at any point you feel uncomfortable or unsure, consult with a qualified electrician. With proper planning and attention to detail, you can enjoy the rewards of a brighter, more inviting space. This project might seem daunting at first, but with the right knowledge and tools, you’ll find it’s a rewarding home improvement task.