
How to Add LED Lights to Back of Mirror? A Comprehensive Guide
Want to transform your bathroom vanity or add a touch of elegance to your bedroom? Adding LED lights to the back of a mirror is a surprisingly straightforward project that can dramatically improve your space’s ambiance and functionality. This comprehensive guide will walk you through every step, from choosing the right lights to safely installing…
Want to transform your bathroom vanity or add a touch of elegance to your bedroom? Adding LED lights to the back of a mirror is a surprisingly straightforward project that can dramatically improve your space’s ambiance and functionality. This comprehensive guide will walk you through every step, from choosing the right lights to safely installing them. How to add LED lights to back of mirror? is the question we’ll answer, covering everything from beginner-friendly options to more advanced techniques. You’ll learn about different types of LED strips, power supplies, and installation methods. Let’s get started!
Light-emitting diodes (LEDs) are semiconductor devices that convert electricity into light. They’re known for their energy efficiency, long lifespan, and versatility in terms of color and brightness. Unlike incandescent bulbs, LEDs produce very little heat, making them safe for use in close proximity to mirrors and other reflective surfaces.
How to Add LED Lights to Back of Mirror?
Why choose LED backlighting for a mirror?
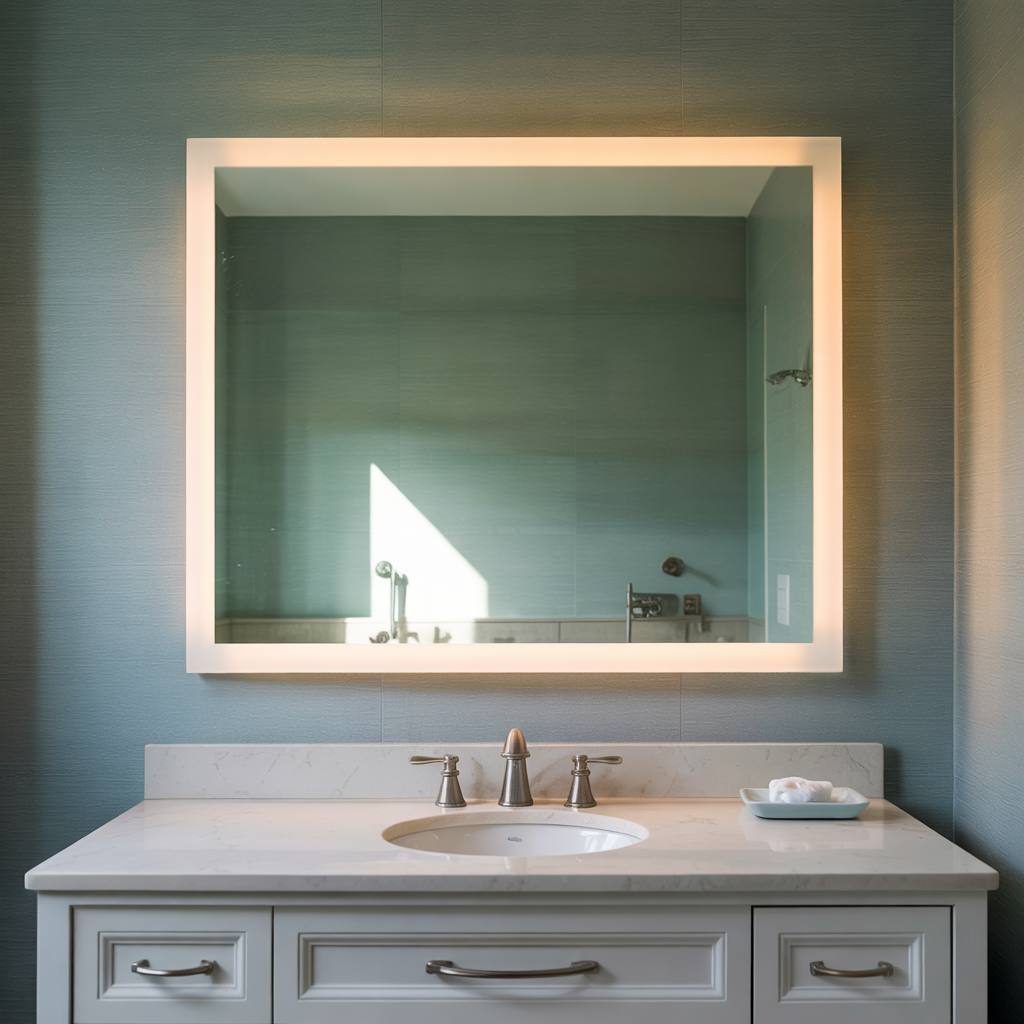
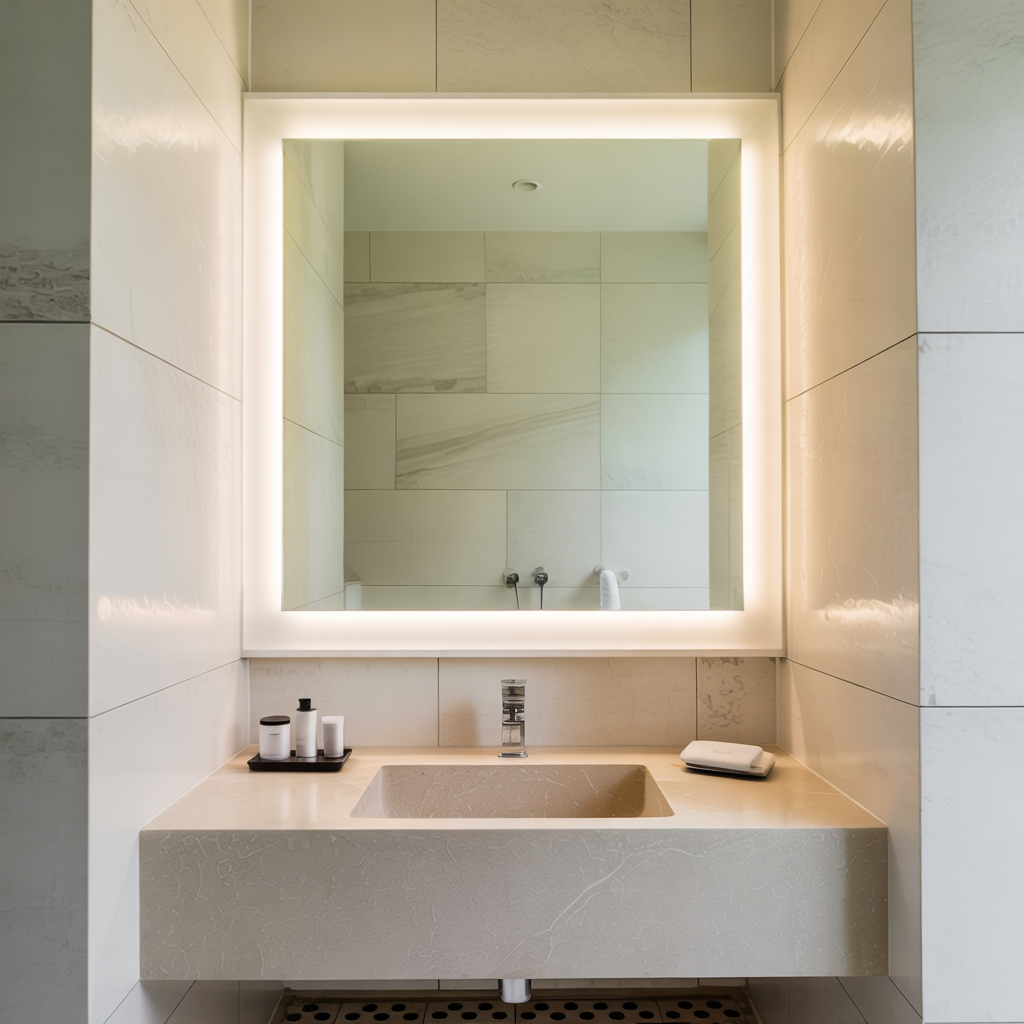
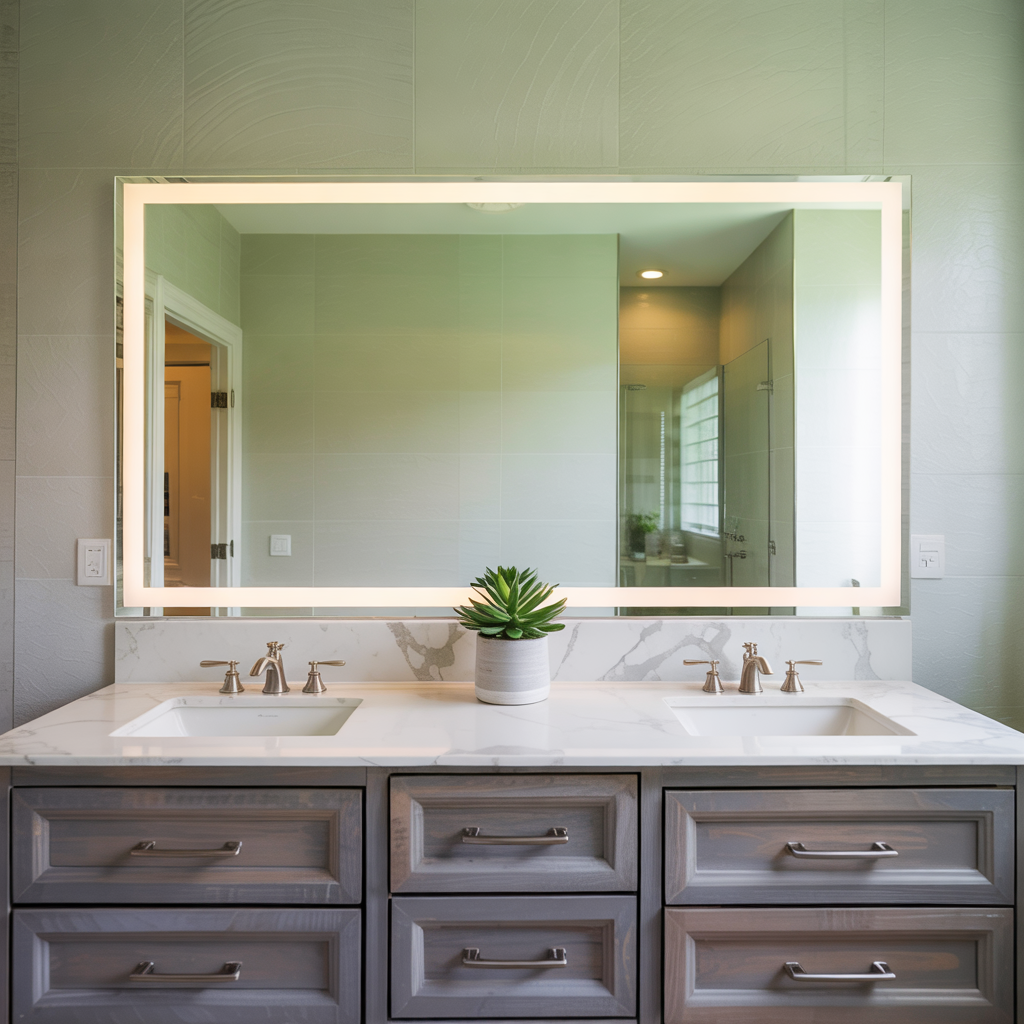
LED backlighting offers several advantages. It creates a soft, even glow, eliminating harsh shadows. This improves visibility and makes applying makeup or shaving much easier. Furthermore, it adds a modern, sophisticated touch to any room’s decor, enhancing the overall aesthetic appeal. The energy efficiency also translates to lower electricity bills compared to traditional lighting options.
Different types of LED light strips
Several LED strip types are available, each with its advantages and disadvantages. These include:
-
- Waterproof LED strips: Ideal for bathrooms or other humid environments.
- Non-waterproof LED strips: More affordable, but unsuitable for damp areas.
- RGB LED strips: Offer a wide range of color options, allowing you to customize the lighting to match your mood or décor. These often require a controller.
- Single-color LED strips: Simpler and less expensive, available in various warm and cool white shades.
Read More: LED Lighting Costs: How Much Are LED Lights?
Choosing the Right LED Strip and Power Supply
Selecting the appropriate LED strip length
Measure the perimeter of your mirror carefully to determine the necessary length of your LED strip. It’s always better to buy a slightly longer strip than you need, allowing for adjustments and potential errors during installation. Remember to account for any curves or angles in your mirror’s frame.
Understanding voltage and amperage
LED strips typically operate on 12V DC or 24V DC. The amperage (measured in Amps) indicates the power draw of the strip. Choosing the right power supply is crucial. A power supply that’s too weak will cause the LEDs to dim or flicker, while one that’s too strong is simply a waste of resources and money. Always refer to the specifications on your chosen LED strip to determine the required power supply.
Power supply considerations
Power supplies are often sold separately from LED strips. Select a power supply with sufficient wattage to handle the total amperage draw of your LED strip. Look for a power supply with a suitable connector type that matches your LED strip’s input. Consider factors like size, safety certifications (like UL listing), and efficiency.
Preparing the Mirror and Work Area
Safety precautions: Electricity
Always disconnect the power to the mirror’s circuit before beginning any work. This is a crucial safety step to prevent electric shock. Never work with electricity unless you are comfortable and familiar with safe practices or have consulted with a qualified electrician. If in doubt, consult a professional.
Cleaning the mirror’s surface
Thoroughly clean the back of the mirror with a suitable cleaner to remove any dust, dirt, or debris that might interfere with the adhesive on the LED strip. Allow the surface to dry completely before applying the strip.
Planning the LED strip placement
Before applying any adhesive, carefully plan the placement of the LED strip. You can use painter’s tape to mark the desired position temporarily. Ensure even spacing and avoid placing the strip directly over any seams or potential stress points on the mirror.
Read More: Can LEDs Emit UVC Spectrum Light? Understanding UVC LEDs And Their Applications
Installing the LED Lights
Applying the LED strip
Most LED strips come with an adhesive backing. Carefully peel off the protective backing and apply the strip to the back of the mirror, following your planned layout. Firmly press the strip to ensure proper adhesion. If the strip isn’t adhering well consider using a stronger adhesive specifically designed for this application. Always follow the manufacturer’s instructions for the specific LED strip you’ve purchased.
Connecting the power supply
Connect the LED strip to the power supply using the appropriate connectors. Secure the power supply in a safe and accessible location, away from moisture and heat sources.
Testing and adjustments
Before permanently securing the power supply, test the LED lights. If you find any issues, such as dim or flickering lights, check the connections and ensure the power supply is adequate. Make adjustments as needed until the lights are working correctly.
Securing the power supply and wires
Once you’re satisfied with the lighting, securely attach the power supply using appropriate fasteners or adhesive. Ensure that all wiring is neatly routed and out of the way to avoid potential hazards or damage.
Read More: Troubleshooting Flickering LED Lights: Why Are My LED Lights Flashing?
Different Installation Methods
Using adhesive backing
The simplest method involves using the adhesive backing on the LED strip. Ensure a clean, dry surface for optimal adhesion. If the adhesive isn’t strong enough, consider adding a high-quality adhesive specifically designed for this type of application.
Using clips or fasteners
For more secure installation, particularly in areas subject to vibration or movement, use clips or fasteners to attach the LED strip to the mirror’s frame. This method provides greater durability and less risk of the strip falling off.
Embedding the LED strip
A more advanced method involves embedding the LED strip behind the mirror frame or within a custom-made channel. This provides a cleaner, more professional look, but it requires more skill and may necessitate modification of the mirror or its frame.
Benefits of LED Backlighting
Enhanced aesthetics
LED backlighting adds a touch of modern elegance and sophistication to any mirror, enhancing its visual appeal and complementing various interior design styles.
Improved functionality
The soft, even light produced by LED backlighting significantly improves visibility, making activities like applying makeup or shaving much easier and more precise.
Energy efficiency
LEDs are highly energy-efficient, consuming considerably less electricity than traditional lighting options. This translates to lower energy bills and a smaller carbon footprint.
Long lifespan
LEDs boast a remarkably long lifespan, typically lasting many years without requiring replacement. This reduces maintenance costs and the inconvenience of frequent bulb changes.
Limitations and Potential Challenges
Cost
While the long-term cost savings are significant, the initial investment in LED strips, power supplies, and potentially additional installation materials can be higher compared to traditional lighting options.
Installation complexity
The complexity of installation varies depending on the chosen method. While some methods are quite simple, others may require more technical skill and expertise.
Potential for damage
Improper installation can potentially damage the mirror or the LED strip. Care and attention to detail are essential to ensure a successful and safe installation.
Frequently Asked Questions
What type of adhesive is best for attaching LED strips to a mirror?
Many LED strips come with an adhesive backing, but you may need a stronger adhesive for better adhesion or certain surfaces. Double-sided adhesive tape designed for electronics or mirrors is a good choice. Always test a small area first to ensure compatibility with your mirror’s material.
Can I use a regular household power outlet to power the LED strip?
No. LED strips generally operate on low-voltage DC power (12V or 24V), not the 120V AC power found in household outlets. You’ll need a suitable power supply to convert the AC power to the DC voltage required by the LED strip.
How do I choose the right color temperature for my LED strip?
Color temperature is measured in Kelvin (K). Lower Kelvin values (e.g., 2700K-3000K) represent warmer, more yellowish light, suitable for creating a relaxing atmosphere. Higher Kelvin values (e.g., 5000K-6500K) represent cooler, whiter light, ideal for tasks requiring good visibility.
What if my LED strip is too long or too short?
Most LED strips can be cut to size at designated points along the strip (indicated by cutting marks). If the strip is too short, you’ll need to purchase a longer one. Always ensure you cut at the designated points and don’t damage the connections.
Final Thoughts
Adding LED lights to the back of your mirror is a rewarding project that can dramatically enhance both the aesthetics and functionality of your space. While the process might seem daunting at first, by following the step-by-step instructions and safety precautions outlined in this guide, you can achieve stunning results. Remember to select appropriate LED strips and power supplies, plan your installation carefully, and always prioritize safety. The soft, even illumination provided by LED backlighting will transform your mirror, improving its usability and adding a touch of modern elegance to your home. Enjoy your beautifully illuminated mirror!