
How to Connect LED Strip Lights? Connecting LED Strip Lights
Ready to illuminate your world with the vibrant glow of LED strip lights? This comprehensive guide will walk you through everything you need to know about how to connect LED strip lights, from choosing the right type to troubleshooting common problems. We’ll cover different connection methods, safety precautions, and even offer tips for creating stunning…
Ready to illuminate your world with the vibrant glow of LED strip lights? This comprehensive guide will walk you through everything you need to know about how to connect LED strip lights, from choosing the right type to troubleshooting common problems. We’ll cover different connection methods, safety precautions, and even offer tips for creating stunning lighting effects. Whether you’re a DIY enthusiast or a complete beginner, you’ll find the information you need to successfully install and enjoy your new LED strip lights.
LED strip lights are flexible circuits containing numerous small LED lights. They’re incredibly versatile, offering a cost-effective and energy-efficient way to add ambient, accent, or task lighting to almost any space. They come in various colors, lengths, and brightness levels, catering to diverse needs and aesthetics.
LED strip lights typically operate on 12V
or 24V DC power. 12V strips are more common for smaller installations and are generally more affordable. 24V strips are better suited for longer runs and higher power requirements, reducing voltage drop over distance. Choosing the correct voltage is crucial for proper functionality.
How to Connect LED Strip Lights?
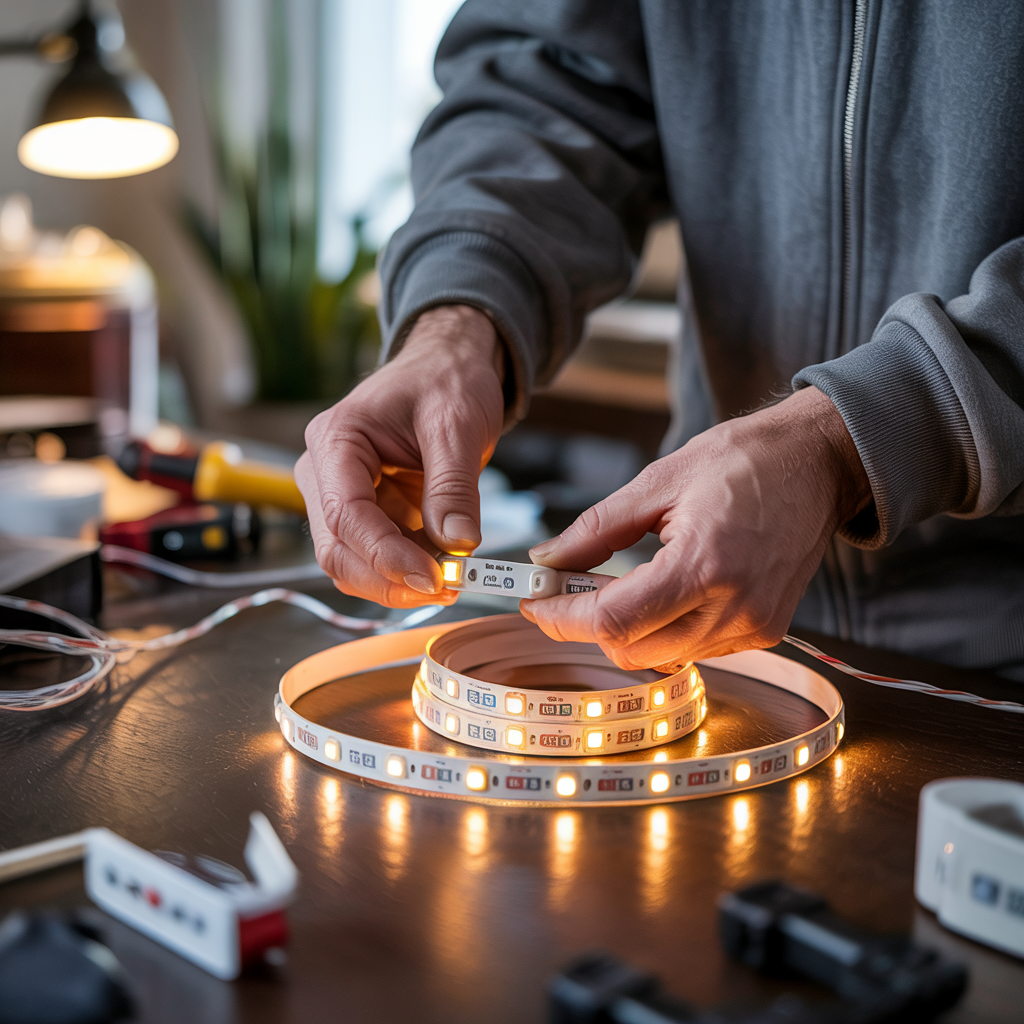
To connect LED strip lights, match the positive and negative terminals, then attach the strip to a power supply or controller. Use connectors or solder wires for secure joins. Ensure the voltage matches, and test before mounting. For longer runs, add amplifiers or use parallel connections to prevent dimming.
Read More: 15 Exposed Beam Ceiling Lighting Ideas That Add Charm and Character
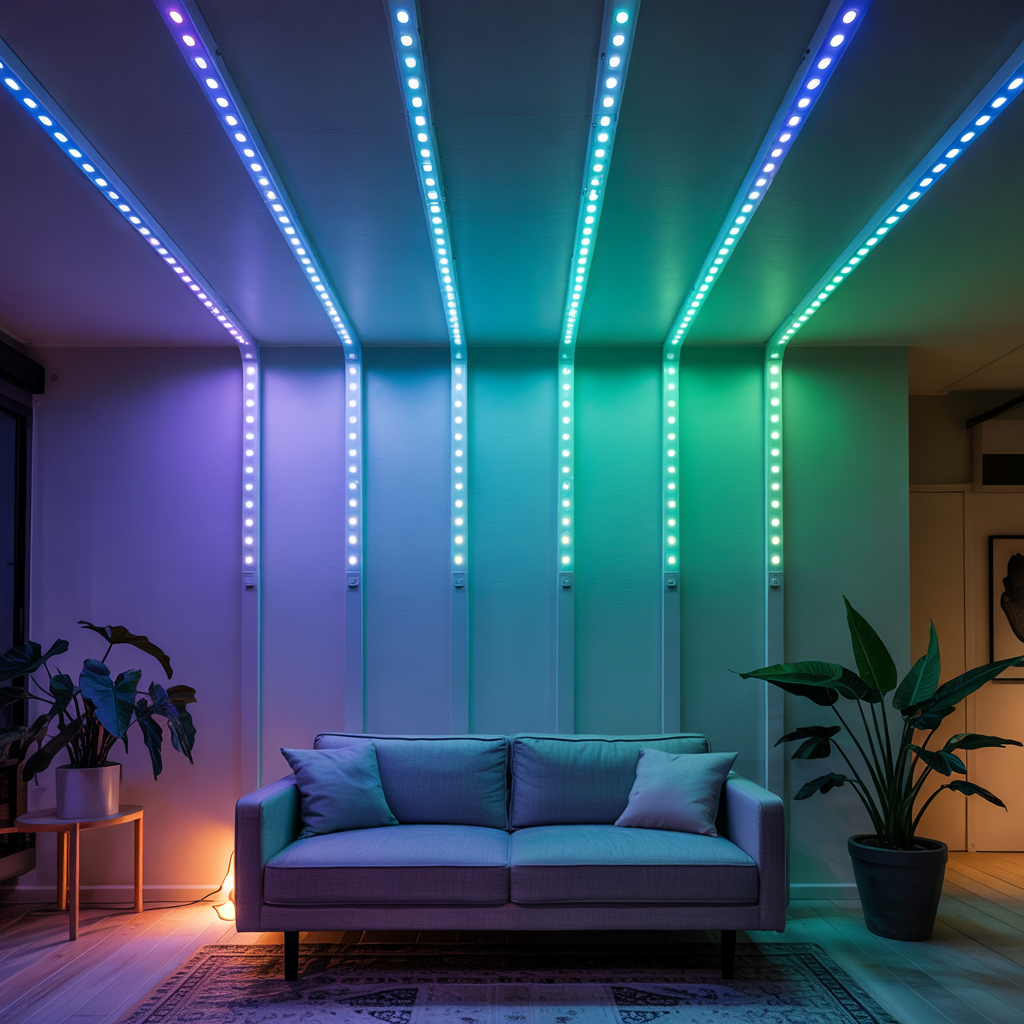
Single Color vs. RGB
Single-color strips emit a single, fixed color (e.g., warm white, cool white). RGB (Red, Green, Blue) strips offer a wide range of colors and can be controlled to create various lighting effects using a controller.
Waterproof vs. Non-Waterproof
Waterproof (IP65 or higher) strips are designed for outdoor or damp environments, while non-waterproof strips are only suitable for indoor use. Always check the IP rating before installation.
Essential Tools and Materials
Before you begin, gather the necessary tools and materials. This typically includes the LED strip lights, a power supply (with the correct voltage and amperage), connecting wires, soldering iron (for some connections), connectors, and potentially a controller for RGB strips. Always use appropriate safety gear like gloves and eye protection.
Connecting LED Strip Lights: A Step-by-Step Guide
Preparing the Surface
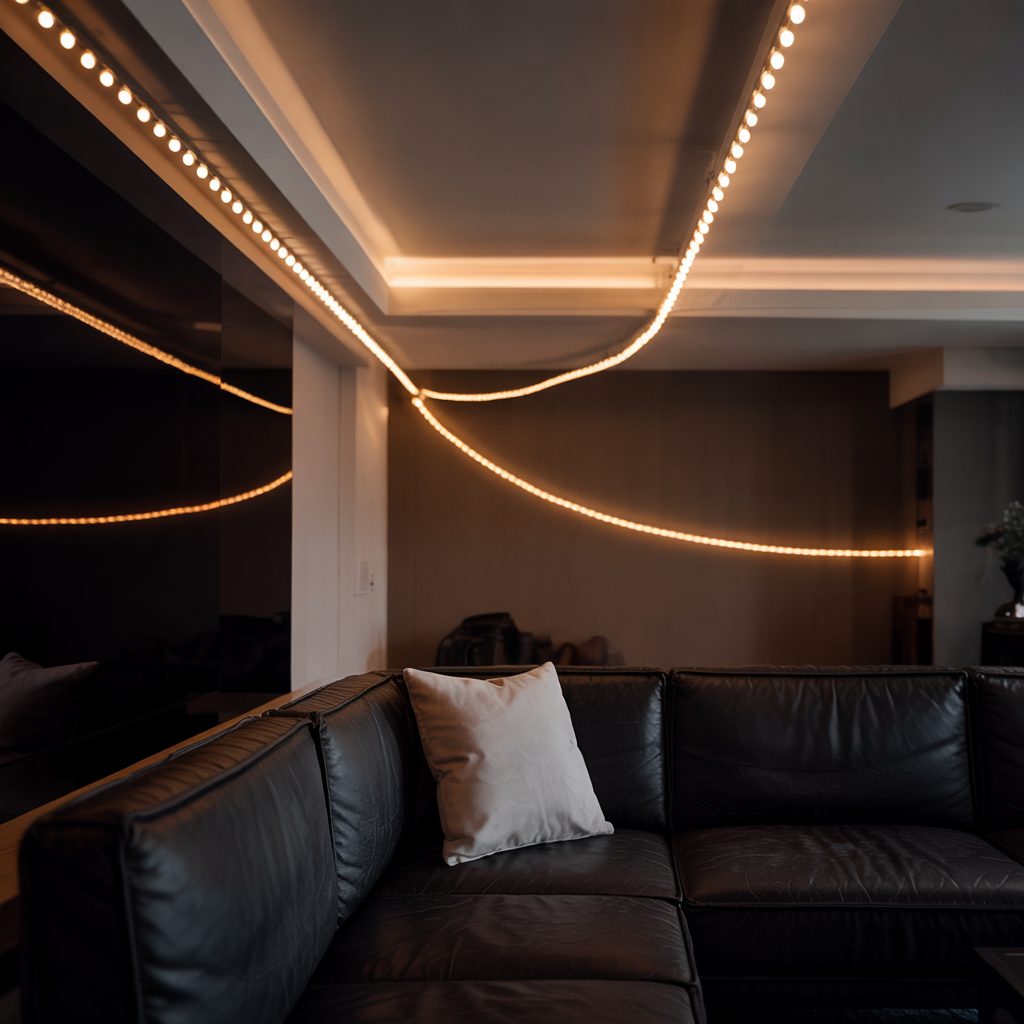
Ensure the surface where you’ll be attaching the strip lights is clean and dry. Use appropriate adhesives or clips to secure the lights, paying attention to the manufacturer’s instructions. Proper placement is critical for optimal light distribution.
Connecting the Power Supply
The power supply provides the necessary voltage to the LED strip. Connect the positive (+) and negative (-) wires from the power supply to the corresponding wires on the LED strip. Incorrect polarity can damage the lights.
Connecting Multiple Strips
For longer installations, you’ll likely need to connect multiple strips. Use appropriate connectors or solder the wires together. Ensure all connections are secure to avoid flickering or malfunctions.
Using Connectors
Connectors provide a convenient and safe way to join LED strips. Simply plug the ends of the strips into the connector. This is generally easier than soldering, especially for beginners.
Soldering Connections
For a more permanent and secure connection, soldering is recommended. Use a low-wattage soldering iron and rosin-core solder to avoid damaging the LED components. Proper soldering technique is crucial for a strong, reliable connection.
Understanding Voltage and Amperage
Voltage (V) represents the electrical potential, while amperage (A) represents the current flow. Your power supply must match the voltage requirements of your LED strip lights. Insufficient amperage will lead to dim or malfunctioning lights. Over-amperage could potentially damage the lights or even create a fire hazard.
Read More: Unveiling The Magic: How LED Lights Work?
Choosing the Right Power Supply
Selecting the appropriate power supply is vital. The power supply’s voltage must match your LED strip’s voltage (12V or 24V). The amperage should be at least equal to, or preferably slightly higher than, the total amperage draw of all connected LED strips. Always check the specifications of both your LED strip lights and your power supply to ensure compatibility.
Troubleshooting Common Problems
Flickering Lights
Flickering lights can indicate loose connections, insufficient power, or a faulty power supply. Check all connections carefully and ensure the power supply is adequate for the total load.
Dim Lights
Dim lights usually point to insufficient power. Verify the power supply’s amperage and voltage, and check for any voltage drop along the length of the strip.
Lights Not Working
If the lights don’t work at all, check the fuses in the power supply. Verify that the power supply is switched on and that the connections are secure. A multimeter can help identify faulty components.
Benefits of LED Strip Lights
LED strip lights offer numerous advantages: energy efficiency, long lifespan, versatility in application, affordability, and easy installation (relatively).
Limitations of LED Strip Lights
While versatile, they do have limitations, including sensitivity to heat (especially in enclosed spaces), potential for voltage drop over long distances, and the need for careful handling to avoid damage to delicate components.
Safety Precautions
Always disconnect the power before making any connections or adjustments. Use appropriate safety gear, avoid touching the LEDs directly, and never overload the circuit. Consult professional electricians for complex installations.
Read More: How to Dispose of LED Light Bulbs? Simple & Effective Ways
Different Installation Scenarios
Under Cabinet Lighting
LED strips are ideal for under-cabinet lighting. Their slim profile and adhesive backing make them easy to install. Select a waterproof version if the area is prone to moisture.
Ambient Lighting
For ambient lighting, consider using RGB strips with a controller to create different moods and atmospheres. Position the strips strategically to achieve the desired effect.
Accent Lighting
Highlight architectural features or artwork with strategically placed LED strip lights. Choose color temperature to match the surrounding decor.
Creative Lighting Applications
Explore creative lighting solutions like cove lighting, backlighting for TVs or furniture, or custom light installations. Let your imagination run wild and transform your space.
Comparing LED Strip Light Brands
Research different brands to compare quality, features, and pricing. Consider factors like warranty, customer reviews, and product specifications when making your choice.
Cost Considerations
The cost of LED strip lights can vary widely based on length, features (RGB vs. single color, waterproof vs. non-waterproof), and brand. Factor in the cost of the power supply, connectors, and any controllers you’ll need.
Frequently Asked Questions
What is the lifespan of LED strip lights?
The lifespan of LED strip lights typically ranges from 30,000 to 50,000 hours, significantly longer than traditional incandescent bulbs. However, this lifespan can be affected by factors like operating temperature and voltage fluctuations.
Can I cut LED strip lights?
Yes, most LED strip lights can be cut at designated cutting points indicated on the strip itself. However, cutting at the wrong points can damage the lights. Always follow the manufacturer’s instructions and use appropriate connectors or soldering techniques.
How much power does an LED strip light use?
Power consumption varies depending on the length, number of LEDs, and brightness. Check the specifications provided by the manufacturer to determine the power consumption of your specific LED strip lights.
Are LED strip lights energy-efficient?
Yes, they are significantly more energy-efficient than traditional incandescent or even halogen bulbs, making them a cost-effective lighting solution in the long run.
Final Thoughts
Connecting LED strip lights can be a rewarding DIY project that significantly enhances the ambiance of your home or workspace. By carefully following the steps outlined in this guide and paying attention to safety precautions, you can successfully install and enjoy the beauty and versatility of LED strip lights. Remember to choose the right type of LED strip lights based on your needs, ensure you have the correct tools and materials, and always prioritize safety throughout the process. With a bit of patience and attention to detail, you can transform any space with the captivating glow of LED strip lighting.